This extended integration requires a paid Zencoder account.
Overview
The Supabase integration gives Zenflow agents access to your Supabase databases, authentication, and storage services. Run SQL queries, manage database tables, list users, and fetch storage files directly from your agent.Connecting Supabase
1
Open Settings & Integrations
Navigate to Settings → Integrations in the Zenflow sidebar.
2
Search for Supabase
Locate Supabase in the Integrations Catalog and click the Connect or [+] button.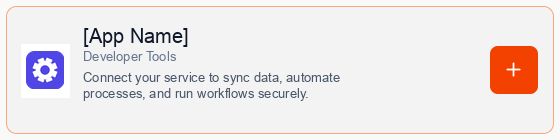
3
Consent to Connection
A secure popup window will open asking for permission to connect your account. Click Continue to proceed.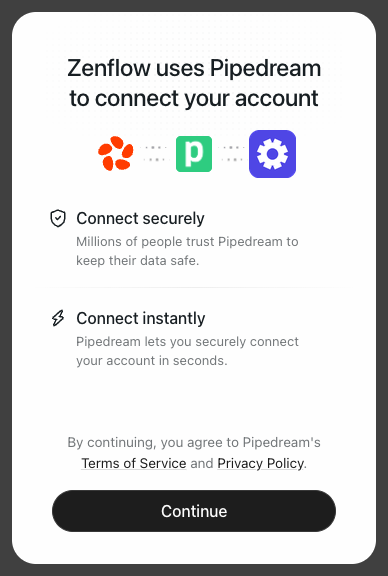
4
Authorize Connection
Provide your Supabase Project URL and Service Role Key (or API Key) in the connection popup.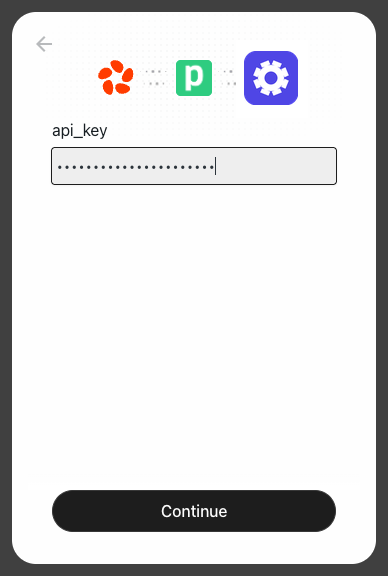
5
Complete Setup
A progress window will briefly indicate that the account connection is in progress, followed by a confirmation.
6
Test Connection
Verify connection status and test query permissions to ensure everything is working.
What the Agent Can Do
- Execute SQL — Run queries, select records, and execute database functions
- Manage Users — Retrieve user profiles, check auth status, and reset passwords
- Manage Files — List storage buckets, download files, and upload assets
- Sync Tables — Keep external systems in sync with your database tables
Example Use Cases
- Automatically run schema migrations or inspect table structures
- Retrieve aggregate metrics (e.g., total active signups) for daily briefings
- Sync CRM contact details to your Supabase users database
- Clean up or archive inactive database records on a regular schedule