Understanding AI Agents
AI Agents are customizable, sharable agents that can be invoked on selected code or entire files in your IDE. Use prebuilt agents or create your own with specific instructions, tools, and commands.Navigating Agent Categories
At the top of the AI Agents screen, you’ll find tabs that help you filter and navigate between different types of agents:All
Shows all available agents
Zencoder
Displays prebuilt agents created by Zencoder (with the number indicating how many are available)
Custom
Shows your custom agents (with the number indicating how many you’ve created)

Creating an Agent
- From scratch
- From Marketplace
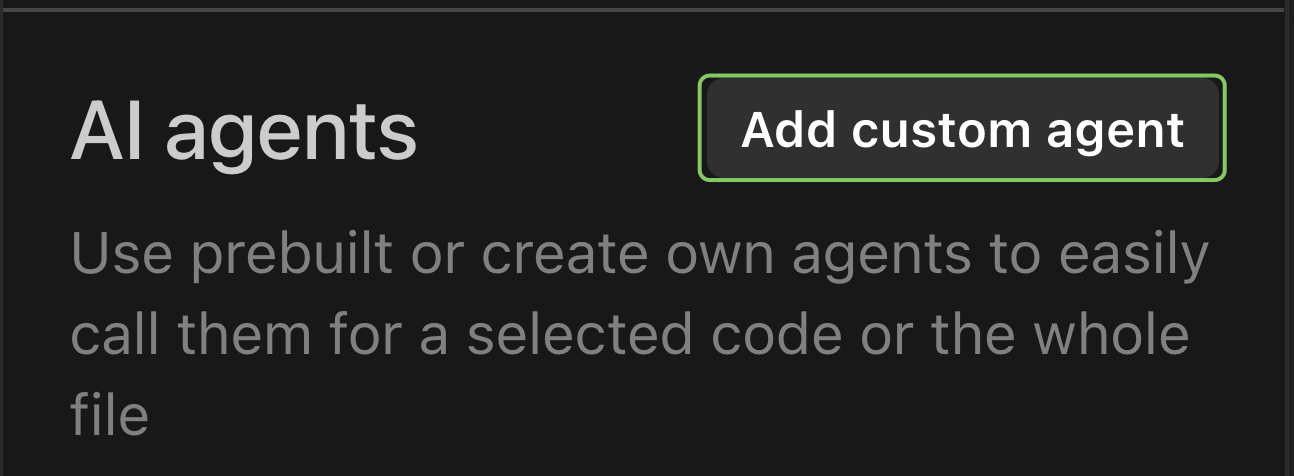
Adding a New Agent
- Click the three dots menu (⋮) at the top right corner.
- Select Agents
- Click the Add custom agent button in the top right
Configuring an Agent
When adding or editing an agent, you’ll need to set these properties:Basic Settings:
- Name: A descriptive name for your agent (required)
- Share: Control who can see and use this agent
- Personal: Visible only to you
- Shared: Visible to your entire organization (all users within your organization can share agents with others)
- Command/Alias: The chat command to invoke your agent (required)
- Instructions: Detailed prompt instructions that define your agent’s behavior (required)
- Tools: Enable specific tools your agent can access

Instructions Format
Define clear instructions for your agent that explain its purpose and how it should operate. Here’s an example of instructions for a Repository Analyzer agent:Your instructions should be specific enough to guide the agent’s behavior, but also flexible enough to work across different contexts.
Tool Selection
Agents can access various tools to enhance their capabilities: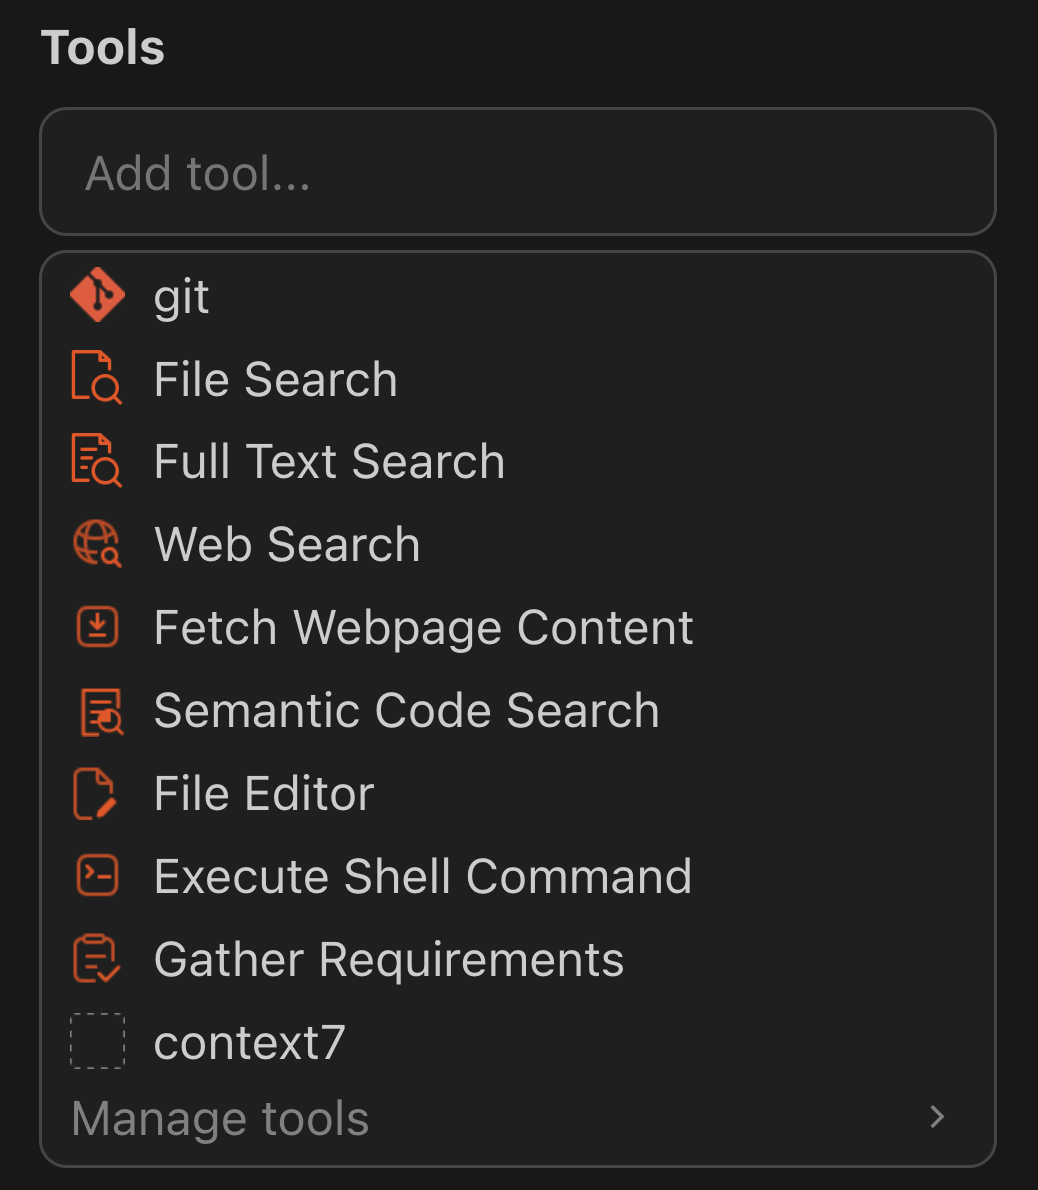
- git
- File Search
- Full Text Search
- Web Search
- Fetch Webpage Content
- Semantic Code Search
- File Editor
- Execute Shell Command
- Gather Requirements
- …

Contributing Your Own Agents
You can submit custom agents to the marketplace via the zenagents-library GitHub repo.Using Agents in Your Workflow
Once configured, you can use agents by:- Selecting code in your editor or focusing on an entire file
- Invoking the agent using its command (e.g.,
/unittests,/review) - The agent will perform its specialized task on the selected code
Example Use Cases
Security Review Agent
Security Review Agent
Create an agent with instructions to scan for OWASP Top 10 vulnerabilities, check for hardcoded secrets, and verify authentication/authorization patterns. Give it access to File Editor, Codebase Search, and Shell Commands (to run static analysis tools).
Release Notes Generator
Release Notes Generator
Build an agent that reads recent git commits and generates changelog entries. Give it Git Operations and Web Search (to link to related issues). Set the command to
/release-notes.API Documentation Agent
API Documentation Agent
Create an agent with instructions to generate OpenAPI specs from your route files. Scope it with Codebase Search and File Editor to read route definitions and write
.yaml docs.Onboarding Assistant
Onboarding Assistant
Share an agent across your org that new team members can invoke to get explanations of project architecture, key modules, and development workflows. Give it read-only tools (Codebase Search, File Search) and reference your repo’s README and architecture docs in its instructions.
Tips for Custom Agents
Keep instructions focused
Keep instructions focused
An agent should do one thing well. A “Security Scanner” is better than a “Security Scanner + Performance Optimizer + Docs Generator.”
Limit tool access
Limit tool access
Only enable the tools your agent actually needs. A read-only analysis agent shouldn’t have File Editor or Shell Commands.
Use the command wisely
Use the command wisely
Pick short, memorable commands like
/review, /docs, or /migrate. These become muscle memory.Share across your team
Share across your team
Related
Coding Agent
The primary development agent that your custom agents can complement
Skills
Reusable instruction packages that agents load automatically based on task context
Integrations & MCP
Connect external tools via Model Context Protocol
Supported Models
Choose from 10+ models or bring your own API key