

Overview
Zenflow supports two types of automations. Both run agent tasks on a schedule, but they differ in scope and how they’re created.Workspace Automations
Standalone scheduled tasks that create a new task instance at each interval. Configured from the Automations sidebar — set a schedule, describe the work, and Zenflow handles the rest.
In-Task Automations
Recurring agent sessions inside an existing task. Created from chat — the agent runs at the interval you set and tracks progress within the same task context.
What You Can Automate
Reports & Digests
Weekly pipeline reports, daily standup summaries, sprint progress updates, executive dashboards
Research & Monitoring
Competitor price tracking, industry news digests, market trend alerts, social mention monitoring
Content & Communications
Weekly newsletter drafts, meeting prep briefs, customer update emails, status reports
Data & Operations
CRM data hygiene, lead enrichment, cross-system syncs, invoice follow-ups
Examples by Team
| Team | Automation | Schedule |
|---|---|---|
| Sales | Pull new HubSpot leads, enrich with web data, send digest to Slack | Weekdays 9 AM |
| Product | Summarize Slack #product and Linear sprint progress into a brief | Monday 8:30 AM |
| Marketing | Monitor competitor blog posts and social activity, compile weekly report | Friday 3 PM |
| Finance | Flag overdue invoices, send follow-up reminders | Weekdays 10 AM |
| HR | Compile open positions and candidate pipeline status | Monday 9 AM |
| Customer Success | Check for at-risk accounts based on usage patterns | Daily 8 AM |
Workspace Automations
Workspace automations are standalone recurring tasks. Each run creates a fresh task instance with its own context, output, and history.Creating a Workspace Automation
From scratch or a template — Click the thunderbolt icon in the left sidebar to open the Automations section. Click + New Automation, fill in the schedule, task details, and repository, then click Create. You can also browse the template library to start from a pre-built pattern.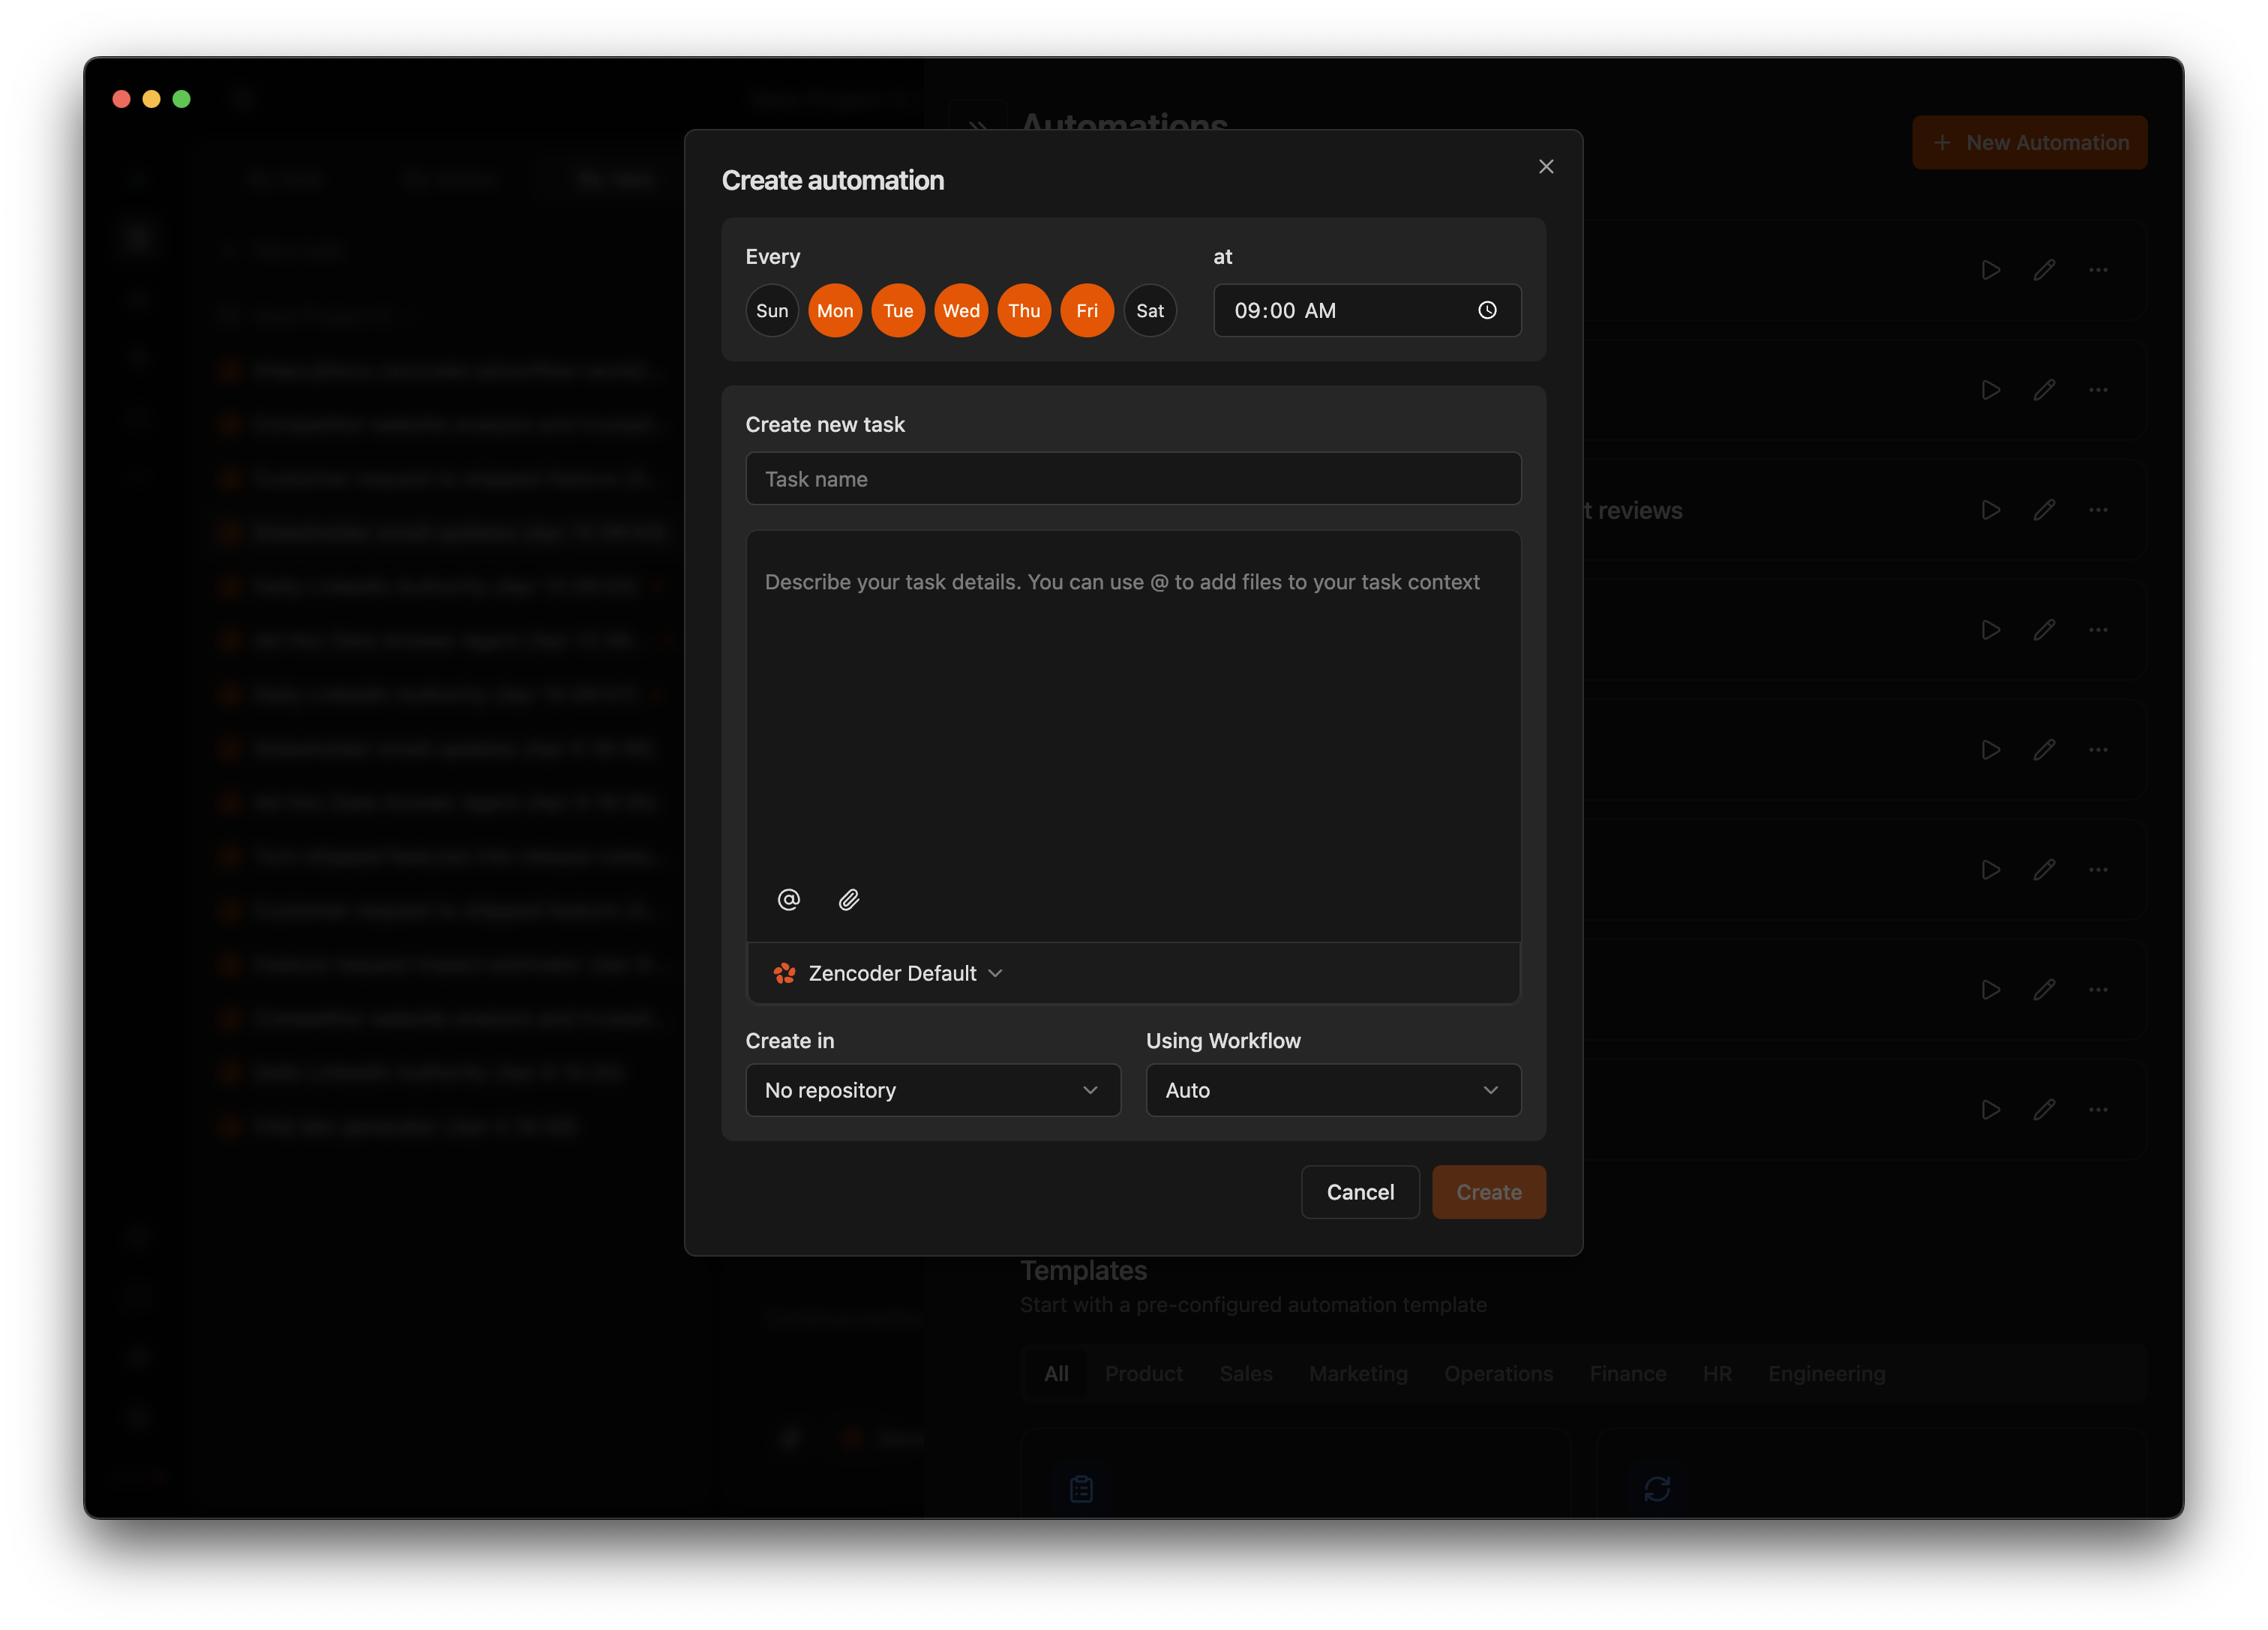
Configuration Fields
| Field | Description |
|---|---|
| Schedule | Days of the week and time (e.g., Mon–Fri at 9:00 AM) |
| Task Name | A descriptive name for the recurring task |
| Description | Detailed instructions passed to the agent at runtime. Use @ to reference files |
| Repository | The repository the task runs against |
| Using Workflow | Workflow type (Auto, Fix a Bug, Spec First, etc.) |
| Model | The AI model to use (defaults to your saved preset) |
Use Cases
| Use case | What the automation does | Suggested schedule |
|---|---|---|
| Bug triage | Queries your issue tracker (Jira/Linear via MCP), filters by severity, creates fix tasks for the most critical ones | Weekdays |
| Stale PR cleanup | Finds unreviewed or stale pull requests, posts summary comments, pings reviewers | Daily or twice-weekly |
| Backlog grooming | Reviews open backlog items, closes stale issues, re-prioritizes based on labels or age | Weekly |
| Community PR triage | Monitors external contributions, runs basic checks, creates tasks to review and merge | Daily |
| Code quality sweeps | Identifies technical debt patterns, unused imports, deprecated API usage, creates cleanup tasks | Weekly |
In-Task Automations
In-task automations run recurring agent sessions inside an existing task. Unlike workspace automations (which create new task instances), in-task automations keep all runs within the same task — useful for monitoring, continuous tracking, and iterative work.Creating an In-Task Automation
Open a task, click the Automations tab in the task header, then click + Create automation in chat. This converts the current task’s context into a recurring automation — useful when you’ve already validated the workflow manually.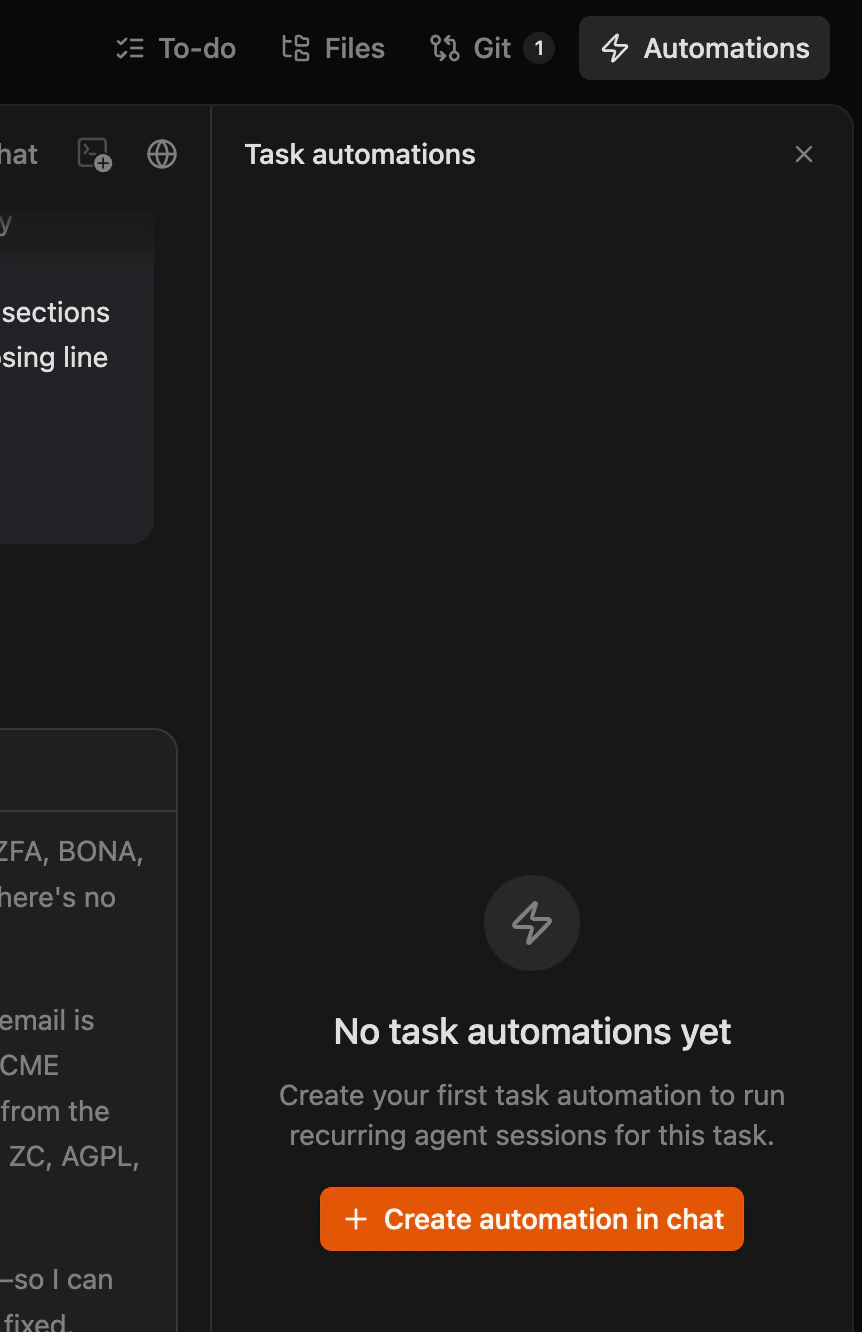
Interval Options
| Interval | Best for |
|---|---|
| 5–15 minutes | Real-time monitoring — Slack keyword alerts, API status polling, incident tracking |
| 1–4 hours | Periodic checks — deal pipeline updates, data syncs between tools |
| Daily | End-of-day digests, overnight processing, daily health checks |
Use Cases
| Use case | How it works |
|---|---|
| Incident monitor | Polls a Slack channel for keywords like “down” or “outage” every 5 minutes, escalates to PagerDuty |
| Pipeline tracker | Checks HubSpot deal stage changes every 2 hours, updates a Notion dashboard |
| Daily standup prep | Runs at 8:30 AM, pulls overnight commits, open PRs, and Linear updates into a summary |
Templates
Zenflow includes a library of pre-built templates organized by department — Product, Sales, Marketing, Operations, Finance, HR, and Engineering. Start from a template that matches your team’s workflow and customize it to your needs.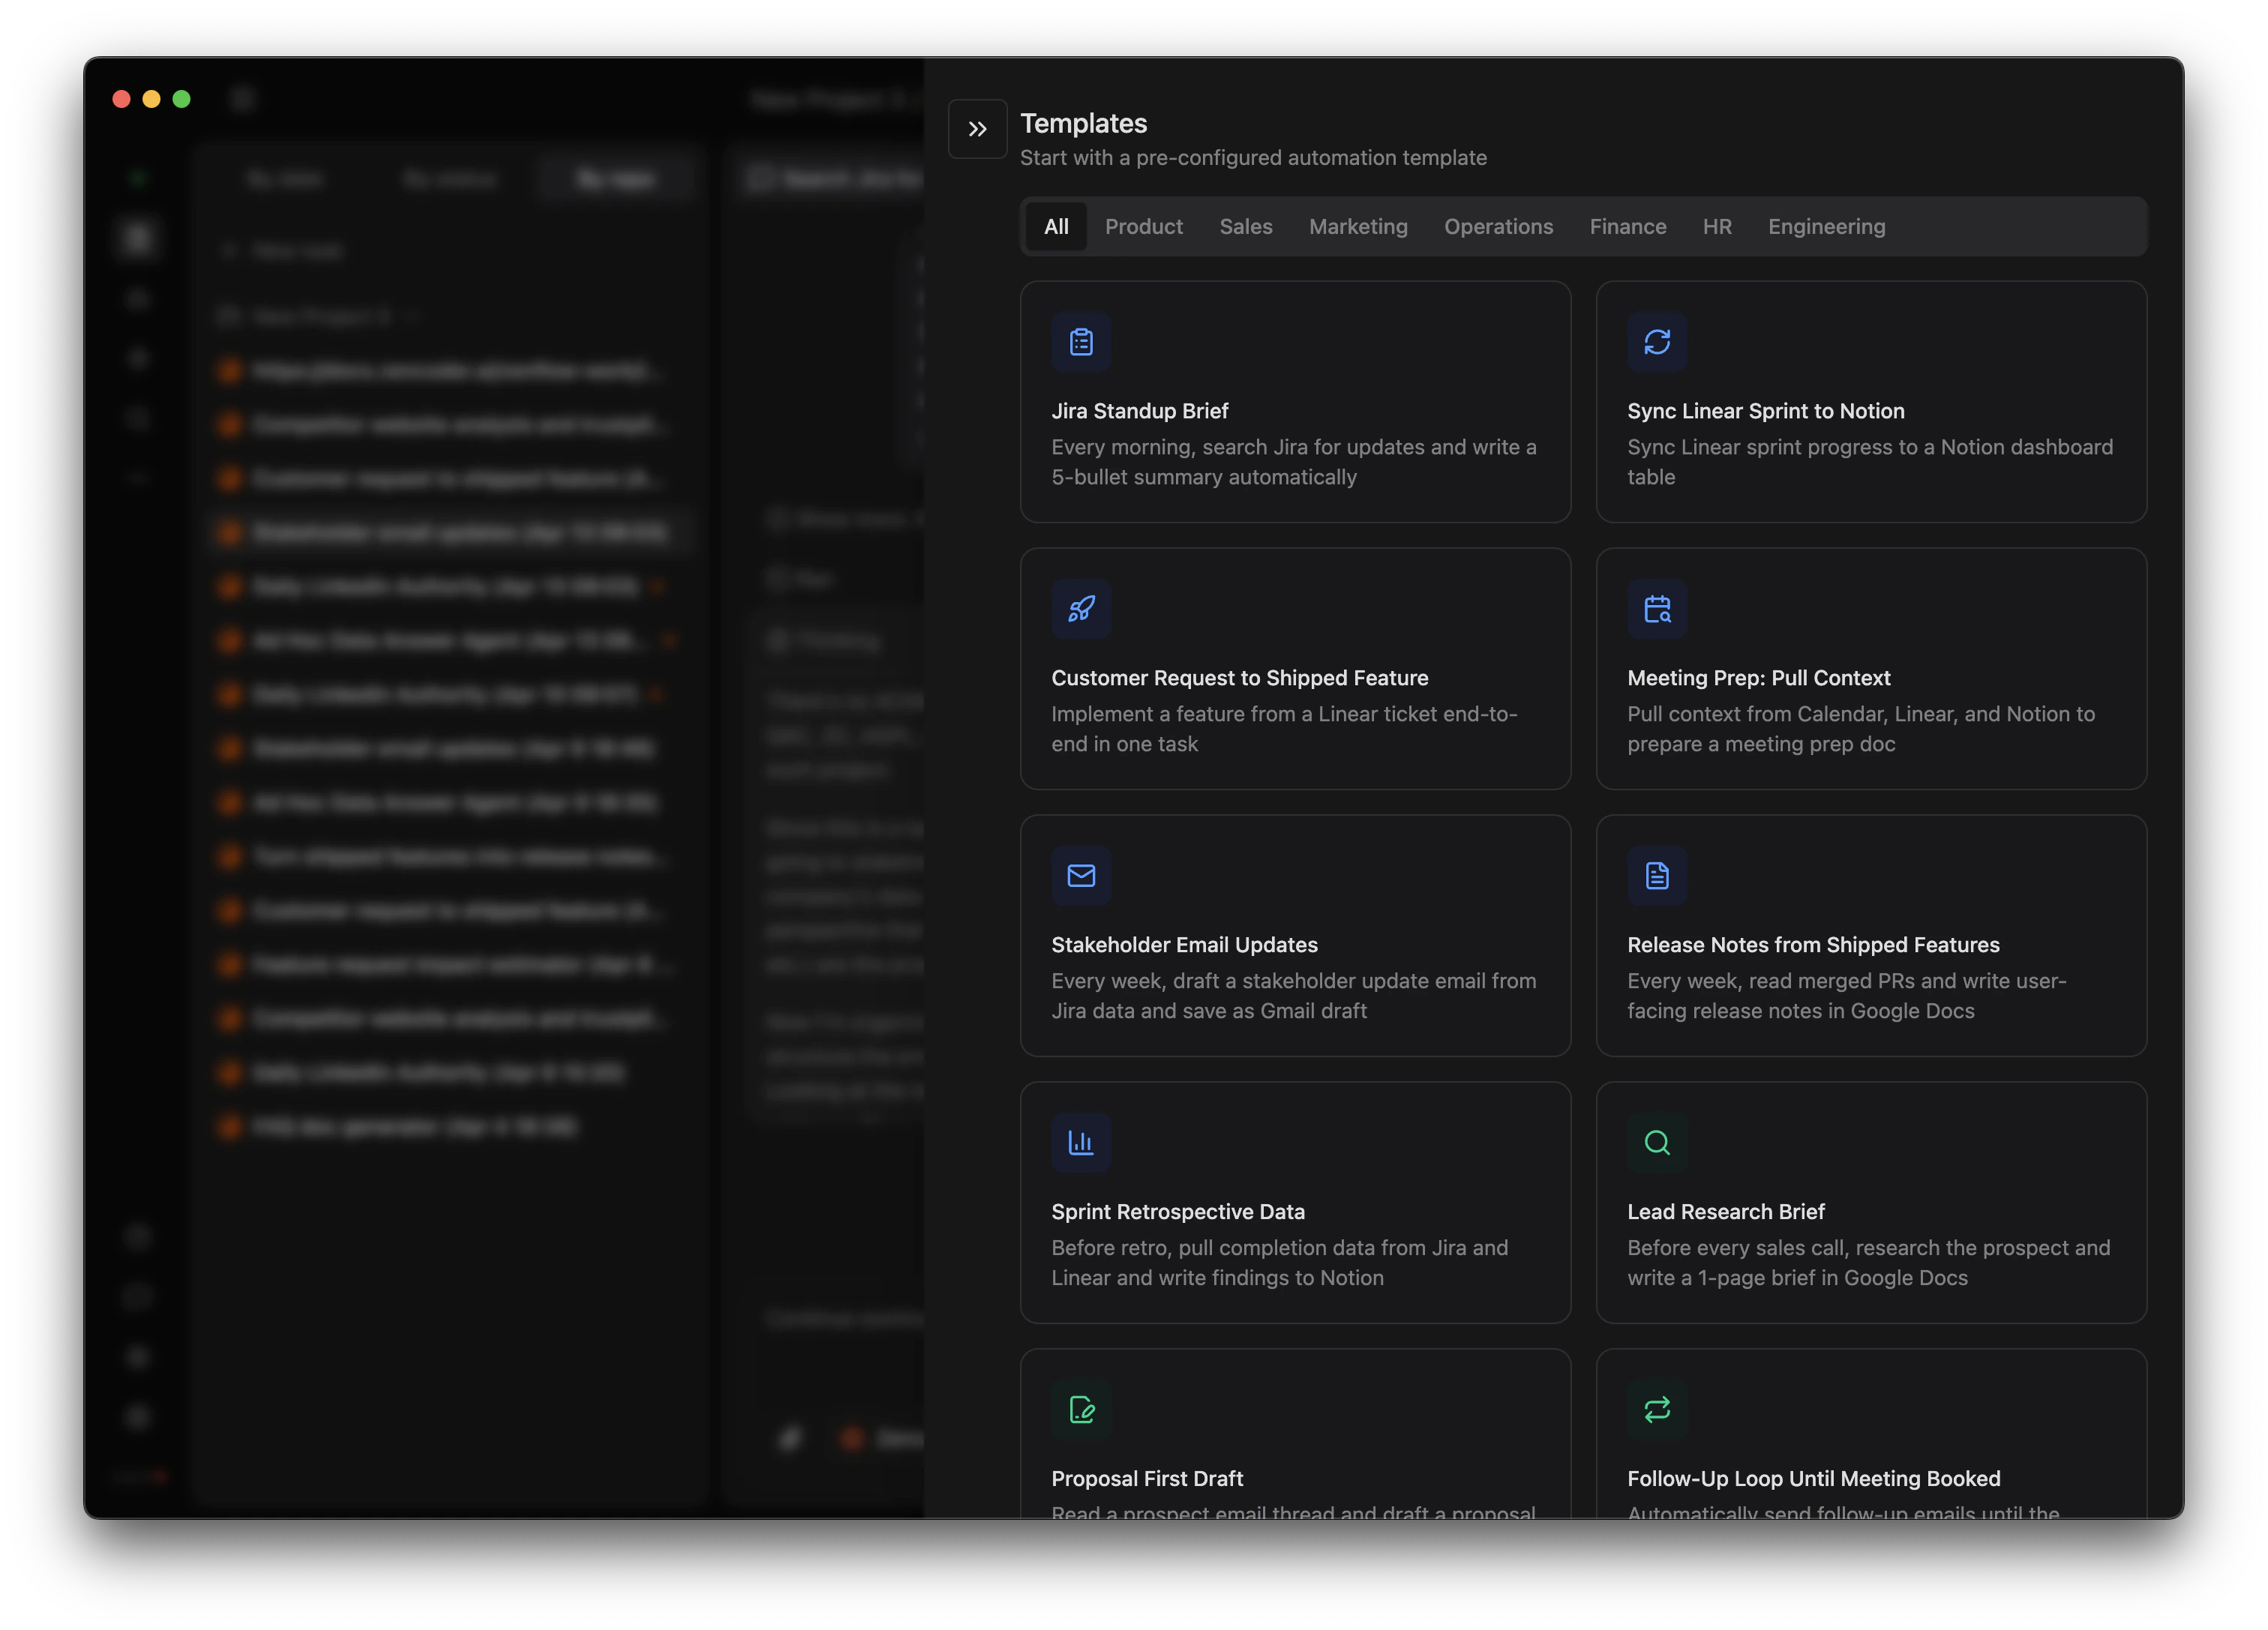
Managing Automations
All automations are visible in the Automations section of the Zenflow sidebar.- Next run – Each automation displays its next scheduled execution time
- Toggle on/off – Enable or disable without deleting
- Test run – Trigger manually to verify before the next scheduled run
- Edit – Update the schedule, description, repository, or workflow at any time
Best Practices
- Validate manually first – Run the task once by hand before scheduling it. Confirm the agent has the right MCP connections, permissions, and context to succeed unattended.
- Be specific in descriptions – Vague instructions produce inconsistent results. Include the project, filters, priorities, and expected output explicitly.
- Match schedule to cadence – Daily triage makes sense for active projects; weekly is better for maintenance or low-traffic repos.
- Monitor early runs – Check the first 2–3 automated runs to confirm output. Adjust the description or workflow before relying on it fully.
- Start from templates – Pre-built templates encode working patterns. Customize them rather than writing from scratch.
Automations interact with external systems through MCP servers and integrations. The more tools you connect, the more your automations can do. See MCP Servers and Integrations for setup.