This native integration requires a Zencoder account.
Overview
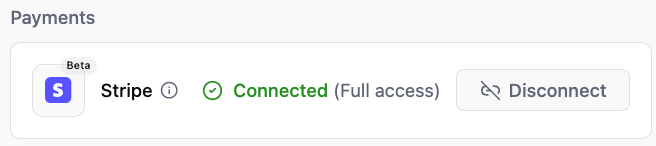
The Stripe integration gives Zenflow agents native access to your payment, subscription, billing, product, and pricing data. This allows agents to work seamlessly with customers, subscriptions, invoices, payments, products, and prices to automate financial workflows.Connecting to Stripe
Follow these steps to authorize and connect Stripe with Zenflow:1
Open Settings & Integrations
Navigate to Settings → Integrations in the Zenflow sidebar (the gear icon at the bottom left).
2
Find Stripe
Locate the Stripe card in the Integrations Catalog and click Connect.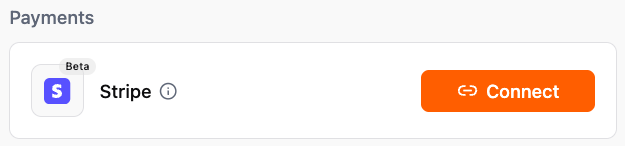
3
Sign In to Stripe
A secure popup window will open requesting you to sign in to your Stripe account. Enter your email and password to authenticate.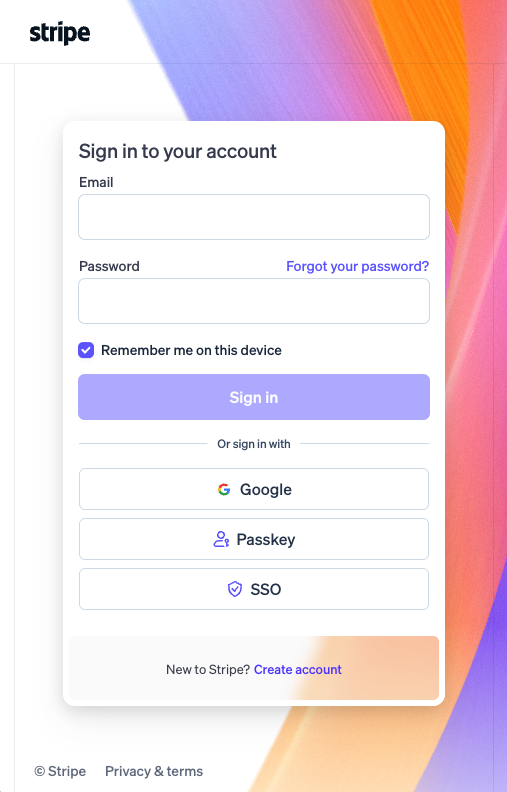
4
Enable MCP Access (If prompted)
If Model Context Protocol (MCP) access is currently disabled for your Stripe account, click Enable for this account to allow Zenflow to use Stripe’s secure API tools.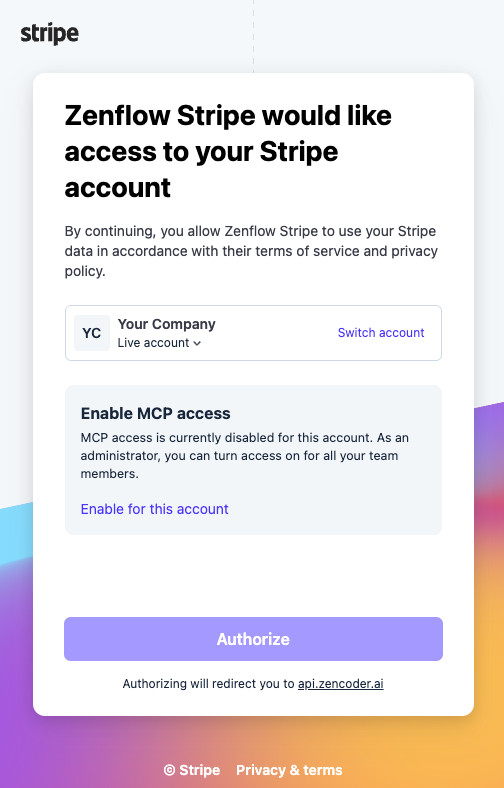
5
Select Permissions
Configure the level of access you want to grant to Zenflow Stripe.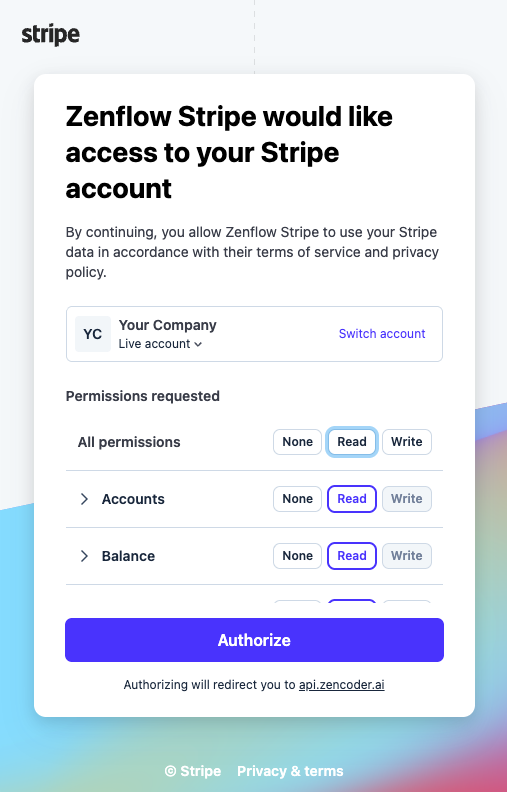
6
Authorize Browser to Open Zenflow
The browser will ask for confirmation to redirect back to the Zenflow application. Click Open Zenflow.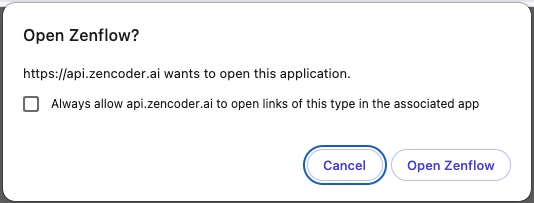
7
Confirm Connected Status
The Stripe secure OAuth flow will show an Integration Connected success page which you can close.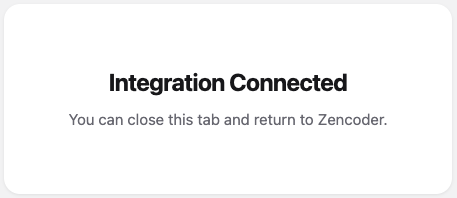
What the Agent Can Do
The Stripe integration enables Zenflow agents to work with the following resources:- Query & Manage Customers — Look up billing history, update details, and search customer records.
- Track Subscriptions — Monitor active plans, trial periods, and subscription cancellations.
- Manage Invoices — Create invoices, retrieve unpaid bills, and track invoice statuses.
- Process Payments — Retrieve payment intents, transaction details, and payout reports.
- Configure Products & Prices — Access, create, and update product listings and price tiers.
Example Use Cases
- Generate daily/weekly billing reports showing new and lost revenue.
- Notify teams about subscription upgrades or failed payments.
- Look up billing, product, and subscription details during customer support tasks.
- Automatically draft custom invoices and update price plans.
Example Automations
Payment to Customer Lifecycle Sync
Connect Stripe and HubSpot to keep customer statuses in sync automatically:- Check all new customers in Stripe: The agent monitors Stripe for newly created customer records (requires Read permissions in Stripe).
- Sync status in HubSpot: For any customers with an active subscription, the agent automatically searches for the corresponding contact or lead in HubSpot and updates their lifecycle stage to “Paid Customer” (requires Write permissions in HubSpot).