This extended integration requires a paid Zencoder account.
Overview
The Salesforce integration gives Zenflow agents access to your Salesforce CRM workspace. Read and update leads, track accounts, manage opportunities, and run SOQL queries — perfect for aligning engineering, sales, and operations.Connecting Salesforce
Search for Salesforce
Locate Salesforce in the Integrations Catalog and click the Connect or [+] button.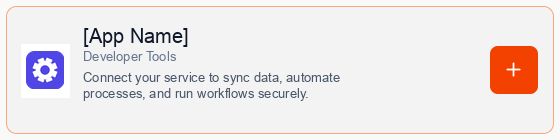
Consent to Connection
A secure popup window will open asking for permission to connect your account. Click Continue to proceed.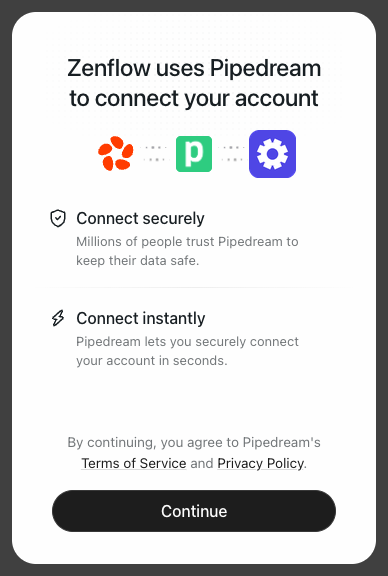
Authorize Connection
Authenticate and authorize Zenflow via the secure Salesforce OAuth popup window.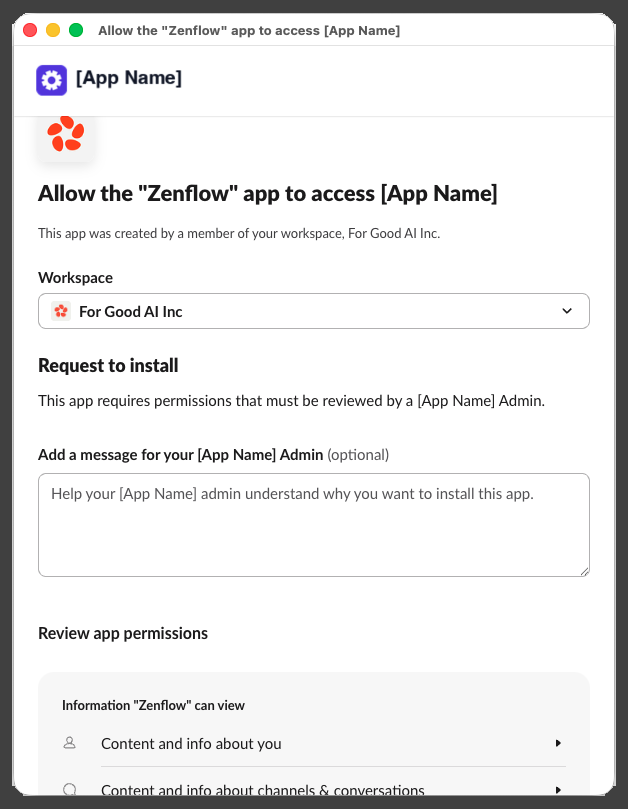

What the Agent Can Do
- Manage Leads — Retrieve, create, and update sales leads
- Track Accounts — Look up client accounts, contacts, and interaction history
- Execute SOQL — Run complex queries to extract customer and sales metrics
- Sync Workflows — Trigger actions based on opportunity or pipeline updates
Example Use Cases
- Sync closed-won opportunities with product provisioning systems
- Automatically create Salesforce leads from product signup events
- Compile weekly pipeline and conversion reports for sales leadership
- Search customer support history in Salesforce during ticket resolution