> ## Documentation Index
> Fetch the complete documentation index at: https://docs.zencoder.ai/llms.txt
> Use this file to discover all available pages before exploring further.
# Tracking Changes
> Monitor, review, and manage code changes made by AI agents in Zenflow.
## Overview
Zenflow provides full visibility into every change made by AI agents. You can review modifications in real-time, approve or reject changes, and maintain complete control over what gets merged.
## Git Settings
Control how Zenflow handles commits and pushes from **Settings → Git**:
| Setting | Description |
| -------------------------------------------- | ------------------------------------------------------------- |
| **Commit mode — Automatic** | Zenflow commits after each agent execution |
| **Commit mode — Instruct AI when to commit** | The agent decides when to commit based on your instructions |
| **Auto-commit changes from agents** | Automatically commit changes after coding agent executions |
| **Auto-update remote branch** | Automatically push changes to the remote branch after commits |
Auto-commit and auto-push only apply to tasks running in a dedicated worktree. Tasks running in the repository directory are not affected.
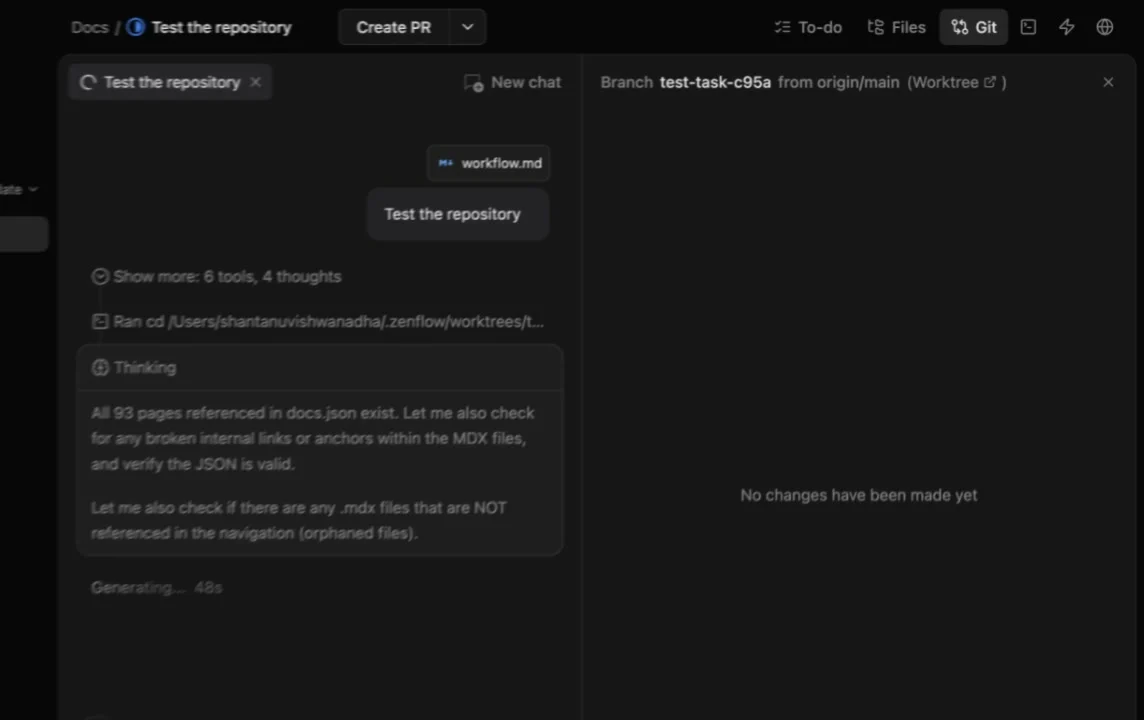
## The Git Tab
Open the **Git** tab in any task's top bar to see branch information, worktree link, and change status:
The Git tab shows:
* **Branch name** and source branch (e.g., `test-task-c95a from origin/main`)
* **Worktree link** to open the task's isolated directory
* **Change status** — files modified, added, or deleted by the agent
## The Changes View
Access the Changes view from any task to see:
* **File tree**: All modified, added, and deleted files
* **Diff view**: Line-by-line comparison of changes
* **Commit history**: Every agent turn creates a checkpoint
* **Uncommitted changes**: Manual edits you've made in the IDE
## Real-Time Monitoring
As agents work, Zenflow tracks every modification:
The agent modifies files in the task worktree based on the workflow and your instructions.
If configured, your verification script executes automatically (linting, tests, type checking).
Zenflow auto-commits the agent's changes with a descriptive message.
Open the Changes view to see exactly what changed and why.
## Change Actions
### Commit Manual Edits
When you make changes in your IDE (using **Open in IDE**), they appear as uncommitted in Zenflow. You can:
* **Commit**: Add your changes to the task branch
* **Discard**: Revert your manual edits
Committing your edits helps the agent understand the current state and build on your changes in subsequent turns.
### Rollback
If an agent produces unwanted changes:
1. View the commit history in the Changes panel
2. Select the checkpoint to roll back to
3. Confirm the rollback
The worktree reverts to that state, and the agent can try again with new guidance.
### Cherry-Pick
Select specific files or hunks to include while discarding others:
1. Open the diff view for a file
2. Use the checkbox or stage controls to select changes
3. Commit only what you want
## Verification Integration
The Changes view shows verification results alongside code changes:
| Status | Meaning |
| ------------- | ------------------------------------- |
| ✅ **Pass** | All verification checks succeeded |
| ❌ **Fail** | One or more checks failed—see details |
| ⏳ **Running** | Verification in progress |
| ⚪ **Skipped** | No verification script configured |
Failed verifications include the error output so you can guide the agent to fix issues.
## Comparing Branches
Compare your task branch against:
* **Base branch**: See all changes since the task started
* **Main**: Compare against the latest main branch
* **Another task**: Cross-reference changes between tasks
## Best Practices
Check changes after each significant agent turn, not just at the end. Early feedback prevents compounding issues.
Automated checks catch syntax errors, type issues, and test failures immediately. Configure them in `.zenflow/settings.json`.
When you make manual edits, commit them with clear messages so the agent (and future you) understands the reasoning.
## Next Steps
How task isolation works
Set up verification scripts