> ## Documentation Index
> Fetch the complete documentation index at: https://docs.zencoder.ai/llms.txt
> Use this file to discover all available pages before exploring further.

# Pipedream Catalog Integrations

> Learn how to connect any of the 2,000+ services available in the Pipedream catalog to Zenflow.

<span className="set-page-badge-extended" />

<Note>
  This extended integration requires a paid Zencoder account.
</Note>

## Overview

The **Pipedream Integration Catalog** gives Zenflow agents access to over **2,000+ external apps, services, and API connectors**. If a service has an API, you can easily connect it and enable your agent to read, write, and synchronize data across your tech stack.

<Note>
  Pipedream integrations are enabled securely via the Zenflow Integrations Catalog.
</Note>

## Connecting Any Pipedream Integration

Follow these steps to connect any external app or service from the Pipedream catalog to Zenflow:

<Steps>
  <Step title="Open Settings & Integrations">
    Navigate to **Settings → Integrations** in the Zenflow sidebar.
  </Step>

  <Step title="Search for Your App">
    In the search bar, type the name of the integration you want to connect (e.g., *Shopify*, *Airtable*, *Hugging Face*).
  </Step>

  <Step title="Click Add/Connect">
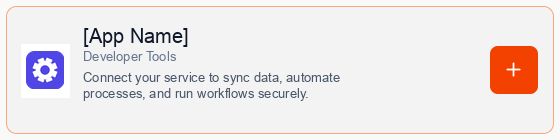
    Click the **\[+]** or **Connect** button next to the app's card.

    <div className="mt-4 flex justify-center">
      <img src="https://mintcdn.com/forgoodaiinc/eDU9y85HvJm-NpEc/images/integrations/pipedream-card.png?fit=max&auto=format&n=eDU9y85HvJm-NpEc&q=85&s=e0d68679ba1e8ffa0e54e42782a36495" alt="Pipedream Catalog Integration Card" style={{ width: "100%", maxWidth: "500px", borderRadius: "12px" }} width="560" height="140" data-path="images/integrations/pipedream-card.png" />
    </div>
  </Step>

  <Step title="Consent to Connection">
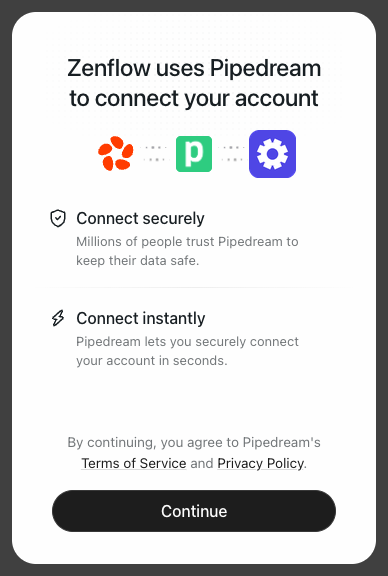
    A secure popup window will open asking for permission to connect your account via Pipedream. Click **Continue** to proceed.

    <div className="mt-4 flex justify-center">
      <img src="https://mintcdn.com/forgoodaiinc/eDU9y85HvJm-NpEc/images/integrations/pipedream-consent.png?fit=max&auto=format&n=eDU9y85HvJm-NpEc&q=85&s=8bef370f3584515ee91bdb286c558acc" alt="Pipedream Consent Screen" style={{ width: "100%", maxWidth: "400px", borderRadius: "12px" }} width="388" height="576" data-path="images/integrations/pipedream-consent.png" />
    </div>
  </Step>

  <Step title="Authorize Connection">
    Follow the prompts in the authorization window depending on the app's authentication type:

    ### Option A: OAuth-Supported Apps

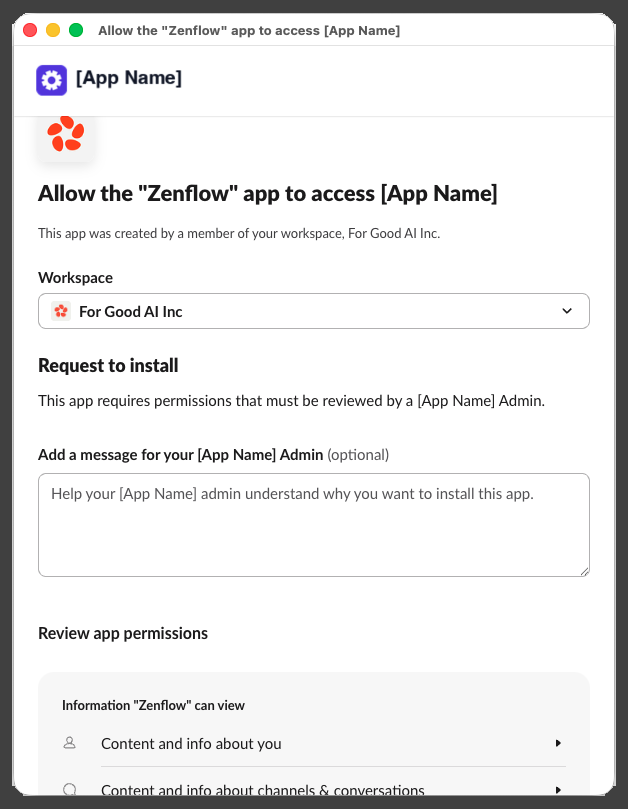
    For apps supporting OAuth (such as **Slack**, **Google Workspace**, **Salesforce**), click **Authorize** to log in and grant access.

    <div className="mt-4 flex justify-center">
      <img src="https://mintcdn.com/forgoodaiinc/eDU9y85HvJm-NpEc/images/integrations/pipedream-oauth-provider.png?fit=max&auto=format&n=eDU9y85HvJm-NpEc&q=85&s=6f5647dba3c892f94e13cf0a85b6469c" alt="OAuth Authorization Screen Example" style={{ width: "100%", maxWidth: "500px", borderRadius: "12px" }} width="628" height="809" data-path="images/integrations/pipedream-oauth-provider.png" />
    </div>

    ### Option B: API Key-Supported Apps

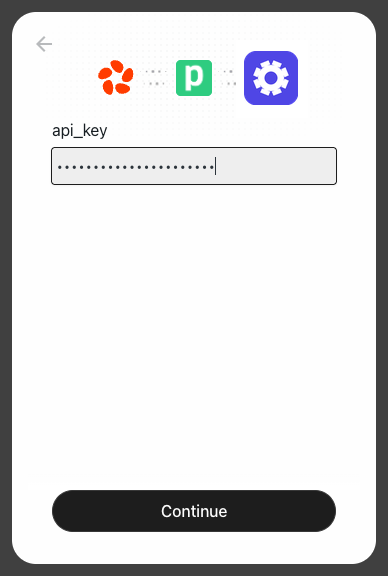
    For apps requiring an API Key or Secret Token (such as **OpenAI**, **Hugging Face**, **Stripe**), paste your credentials into the input field and click **Continue**.

    <div className="mt-4 flex justify-center">
      <img src="https://mintcdn.com/forgoodaiinc/eDU9y85HvJm-NpEc/images/integrations/pipedream-apikey-connect.png?fit=max&auto=format&n=eDU9y85HvJm-NpEc&q=85&s=a7d3ff6be2aa952fb56f9284d1cad83f" alt="API Key Connection Screen Example" style={{ width: "100%", maxWidth: "400px", borderRadius: "12px" }} width="388" height="576" data-path="images/integrations/pipedream-apikey-connect.png" />
    </div>
  </Step>

  <Step title="Complete Setup">
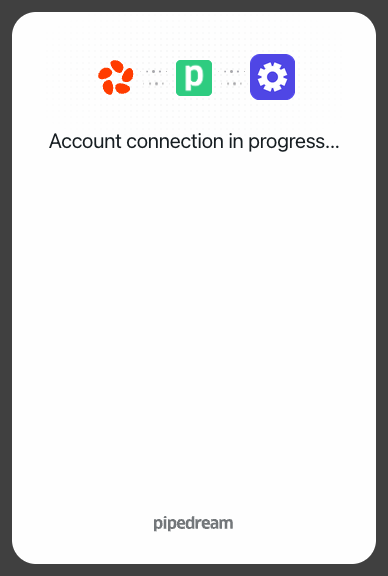
    A progress window will briefly indicate that the account connection is in progress, followed by a confirmation.

    <div className="mt-4 flex justify-center">
      <img src="https://mintcdn.com/forgoodaiinc/eDU9y85HvJm-NpEc/images/integrations/pipedream-connecting.png?fit=max&auto=format&n=eDU9y85HvJm-NpEc&q=85&s=551313855862e9f99e2b409748d16a21" alt="Connection in Progress" style={{ width: "100%", maxWidth: "400px", borderRadius: "12px" }} width="388" height="576" data-path="images/integrations/pipedream-connecting.png" />
    </div>

    Once authorized, close the popup. The integration will instantly display as **Connected** in your Zenflow dashboard and is immediately active for your AI agents.
  </Step>
</Steps>

## What Your Agents Can Do

Once connected, your Zenflow agents can use the integration to help automate repetitive tasks, which may include capabilities such as:

* **Query APIs** — Retrieve records, check statuses, and pull logs from external services.
* **Push Updates** — Automatically create records, post messages, or trigger workflows in your other apps.
* **Listen for Events** — Use webhook triggers to run agents on schedules or live events.
* **Sync Datasets** — Securely share and map details between different tools without writing code.