> ## Documentation Index
> Fetch the complete documentation index at: https://docs.zencoder.ai/llms.txt
> Use this file to discover all available pages before exploring further.
# GitHub Integration
> Connect Zenflow Work to GitHub for repository management and pull requests.
This native integration requires a Zencoder account.
## Overview
Zenflow integrates with GitHub to streamline your development workflow. Connect your repositories, create pull requests directly from tasks, and sync status across platforms.
## Connecting to GitHub
There are two ways to connect to Github - OAuth flow and Personal Access Token flow
Navigate to **Settings → Integrations** in the Zenflow sidebar.
Locate **GitHub** in the Integrations Catalog.
Click the **Connect** or **\[+]** button on the GitHub card, and select **Connect with OAuth**.
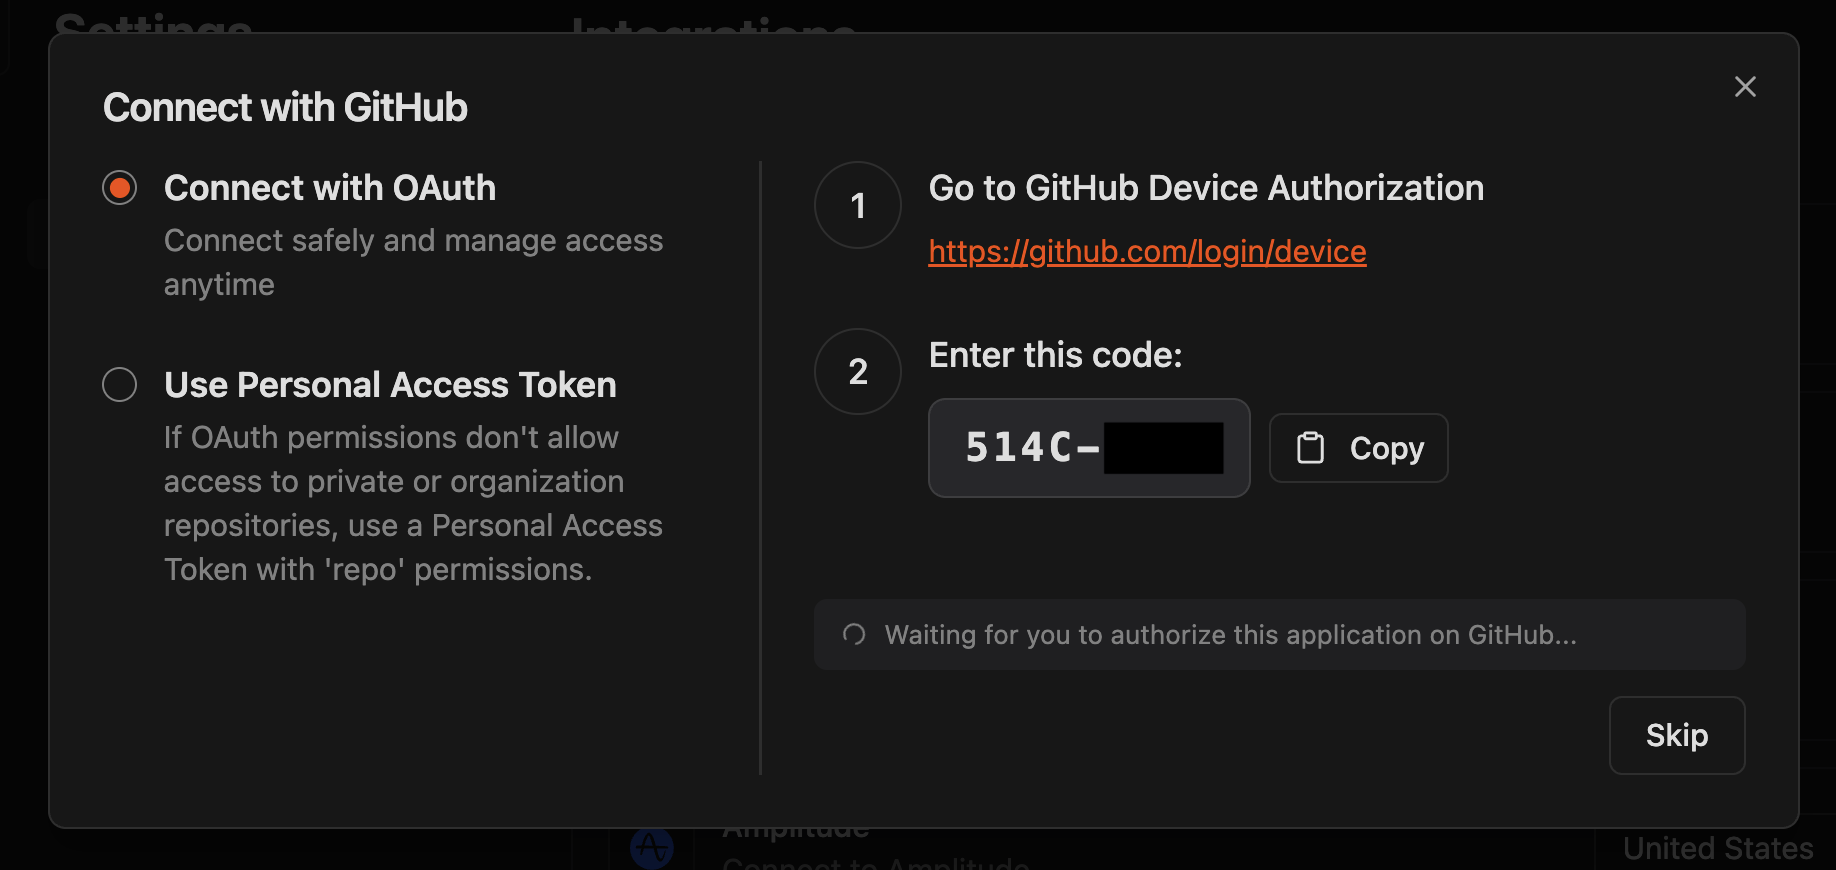 Click the link shown in the modal or [click here](https://github.com/login/device)
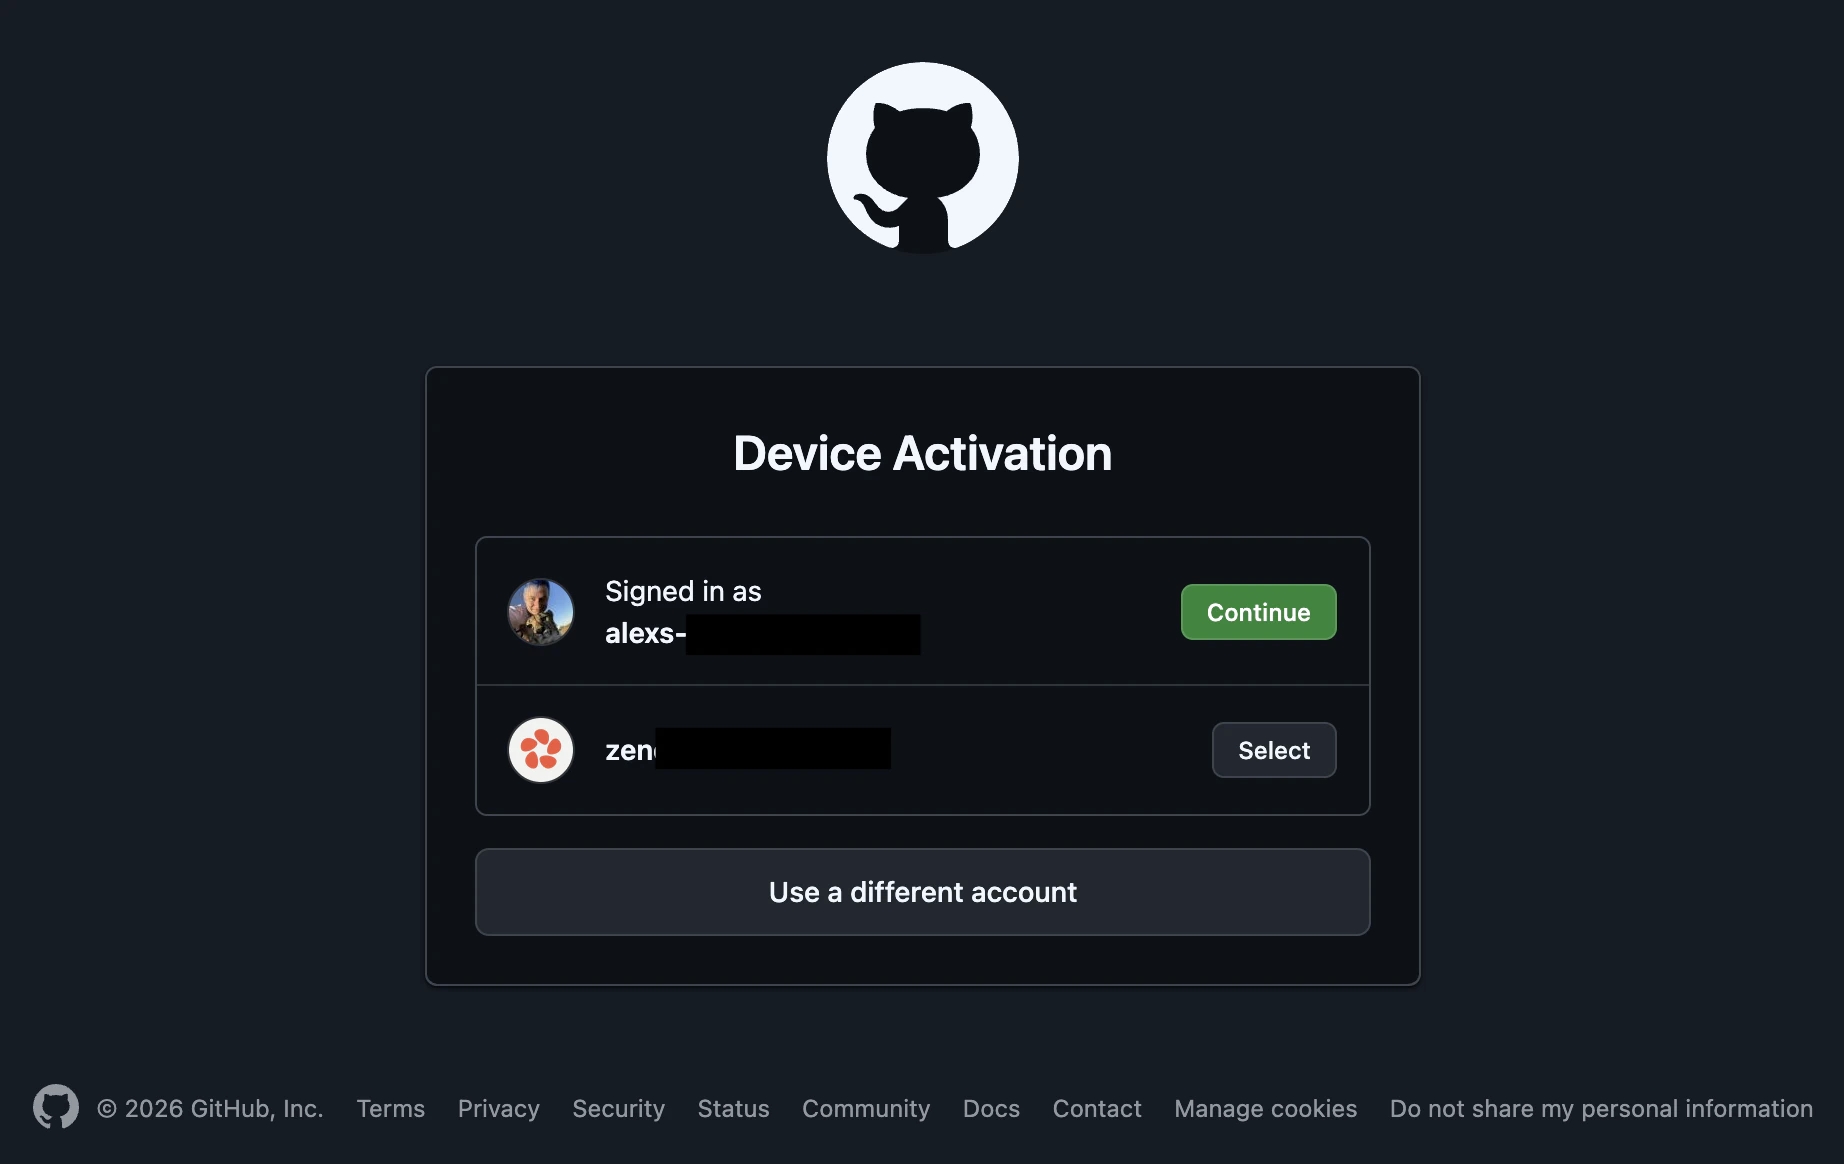
Select the account you want to connect if you have multiple
Click the link shown in the modal or [click here](https://github.com/login/device)
Select the account you want to connect if you have multiple
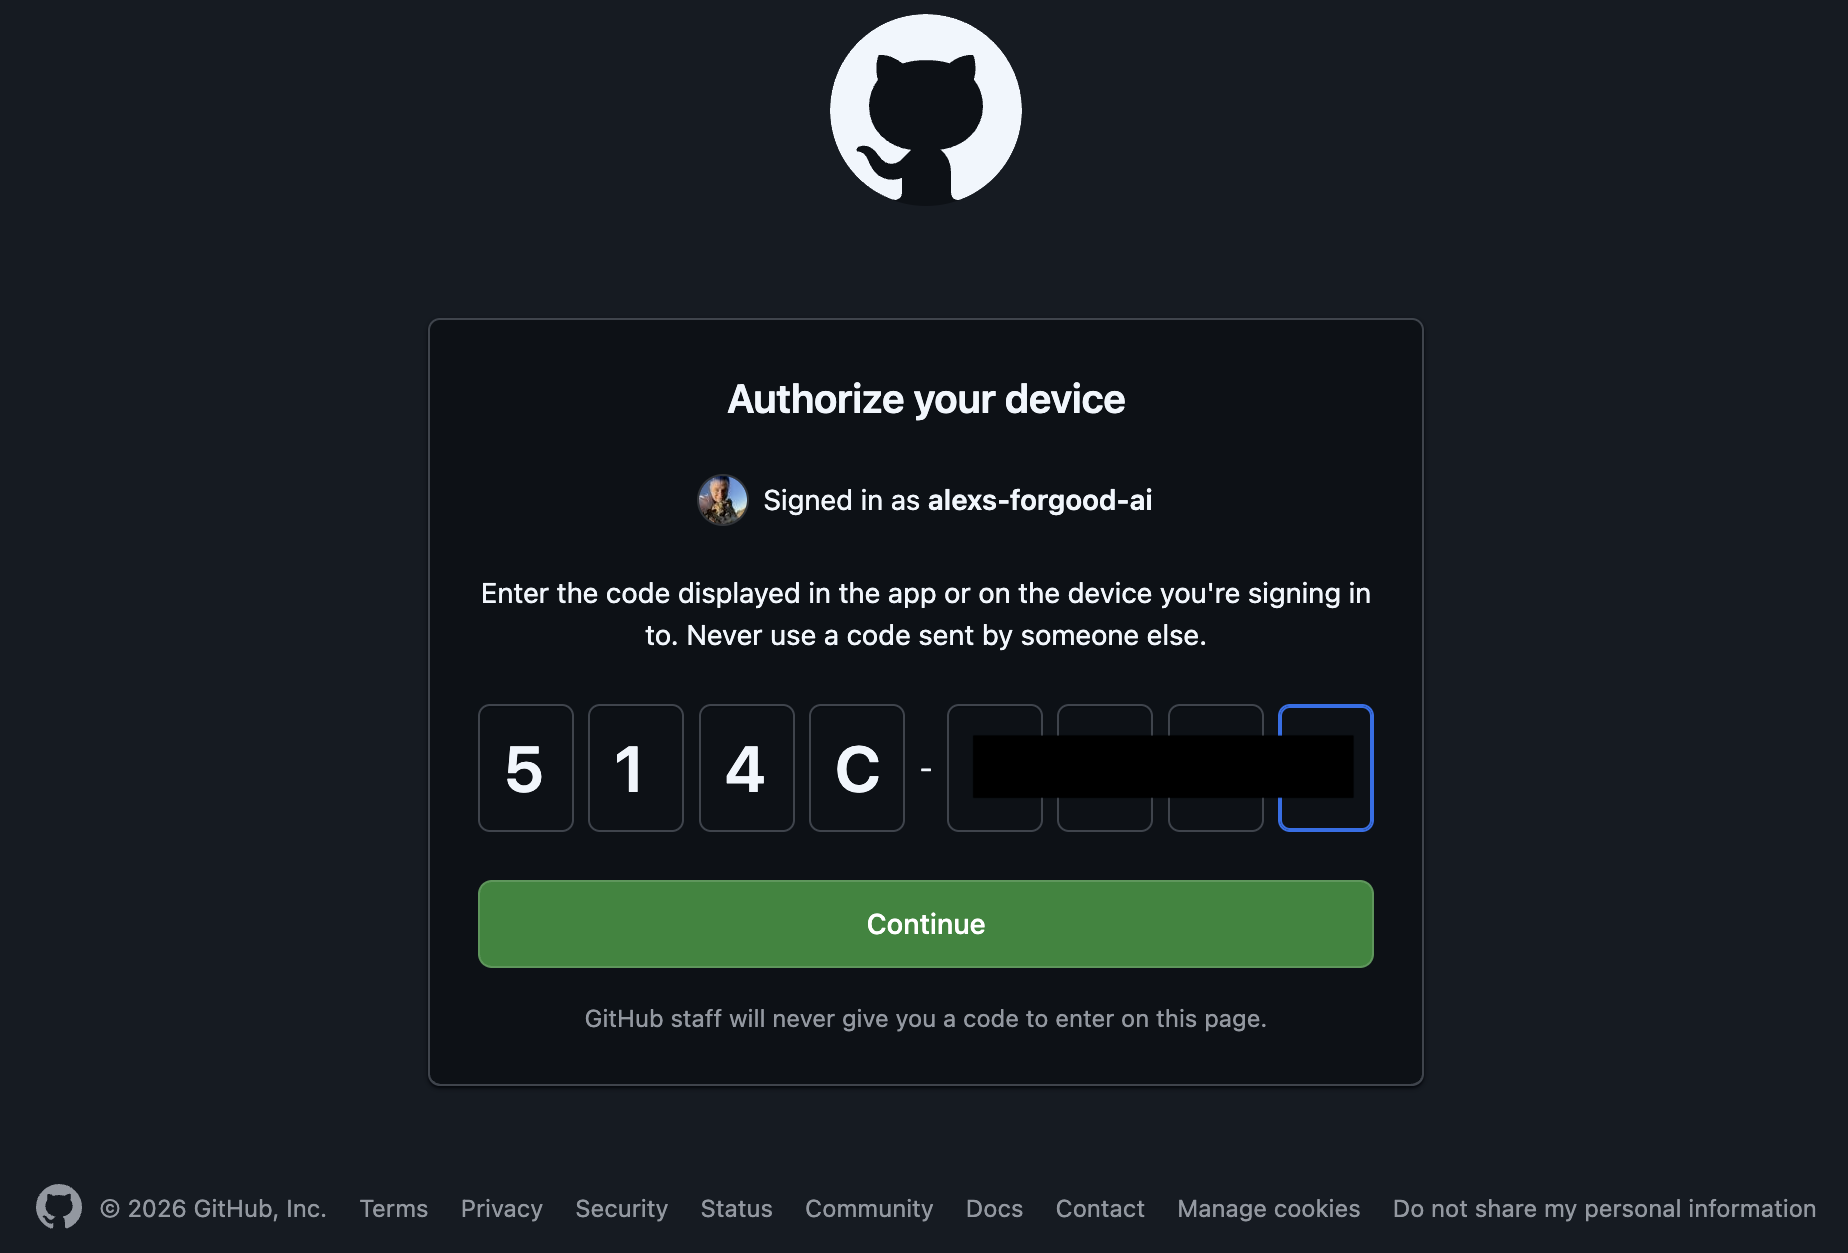
 Enter code shown in Zenflow and click **Continue**
 Click **Authorize zencoderai**
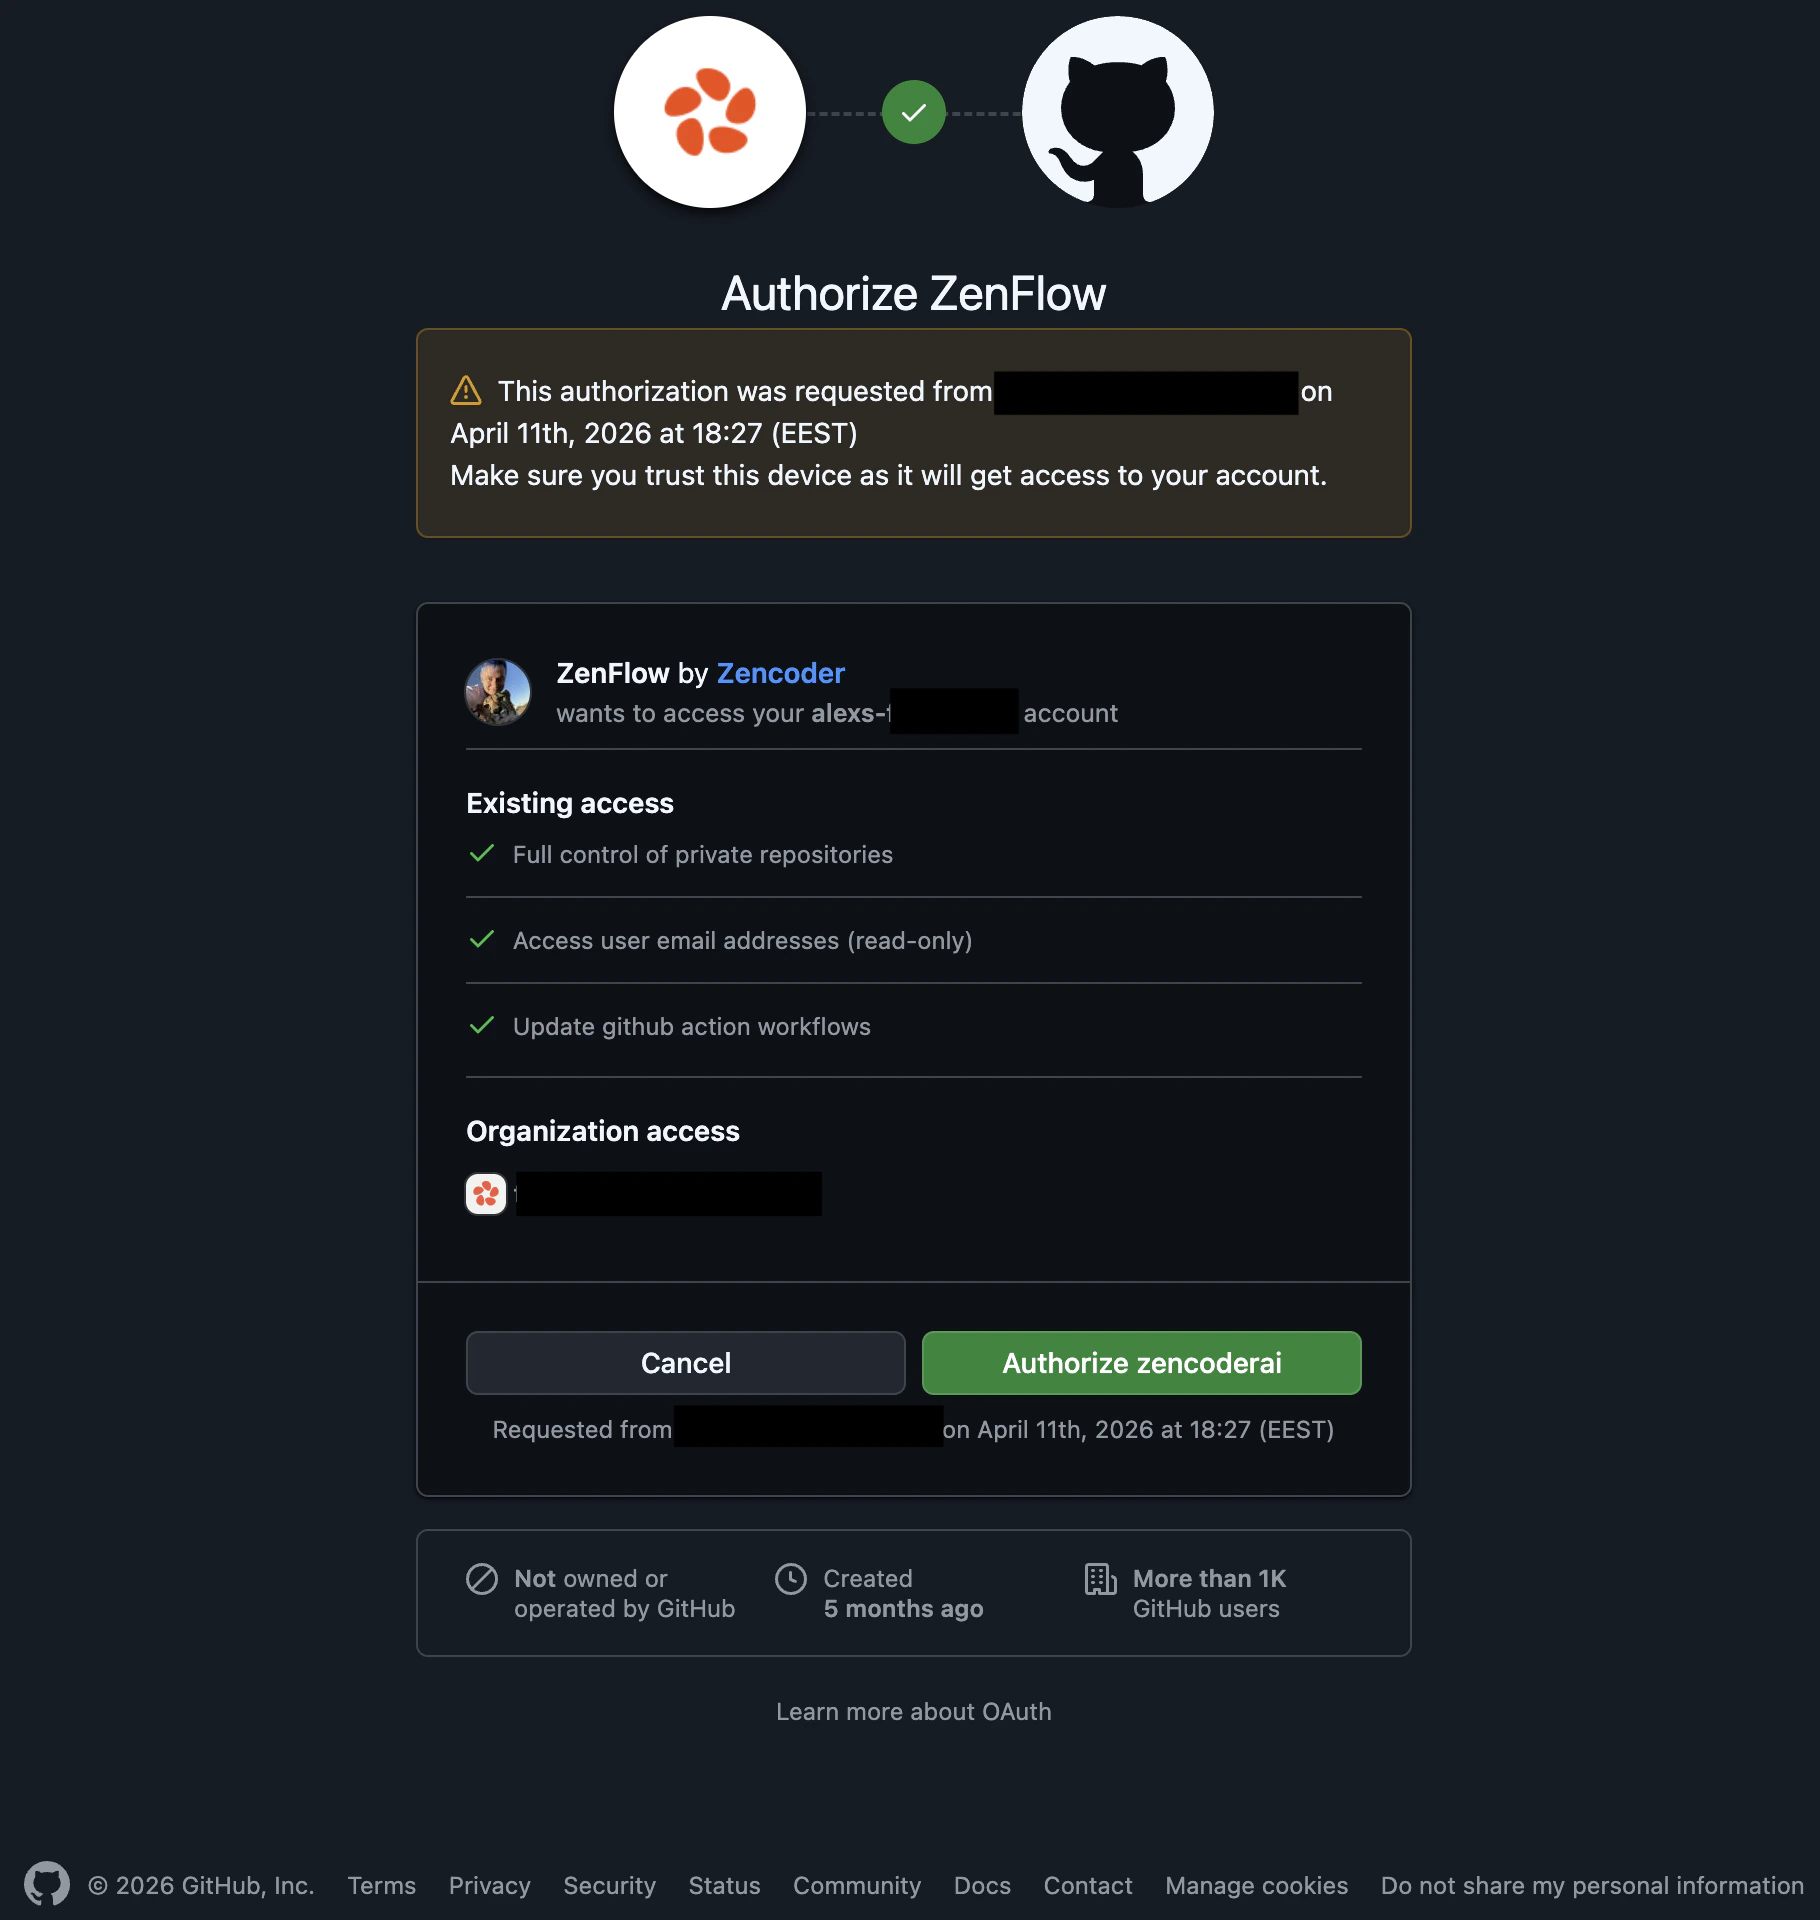 You should see confirmation page
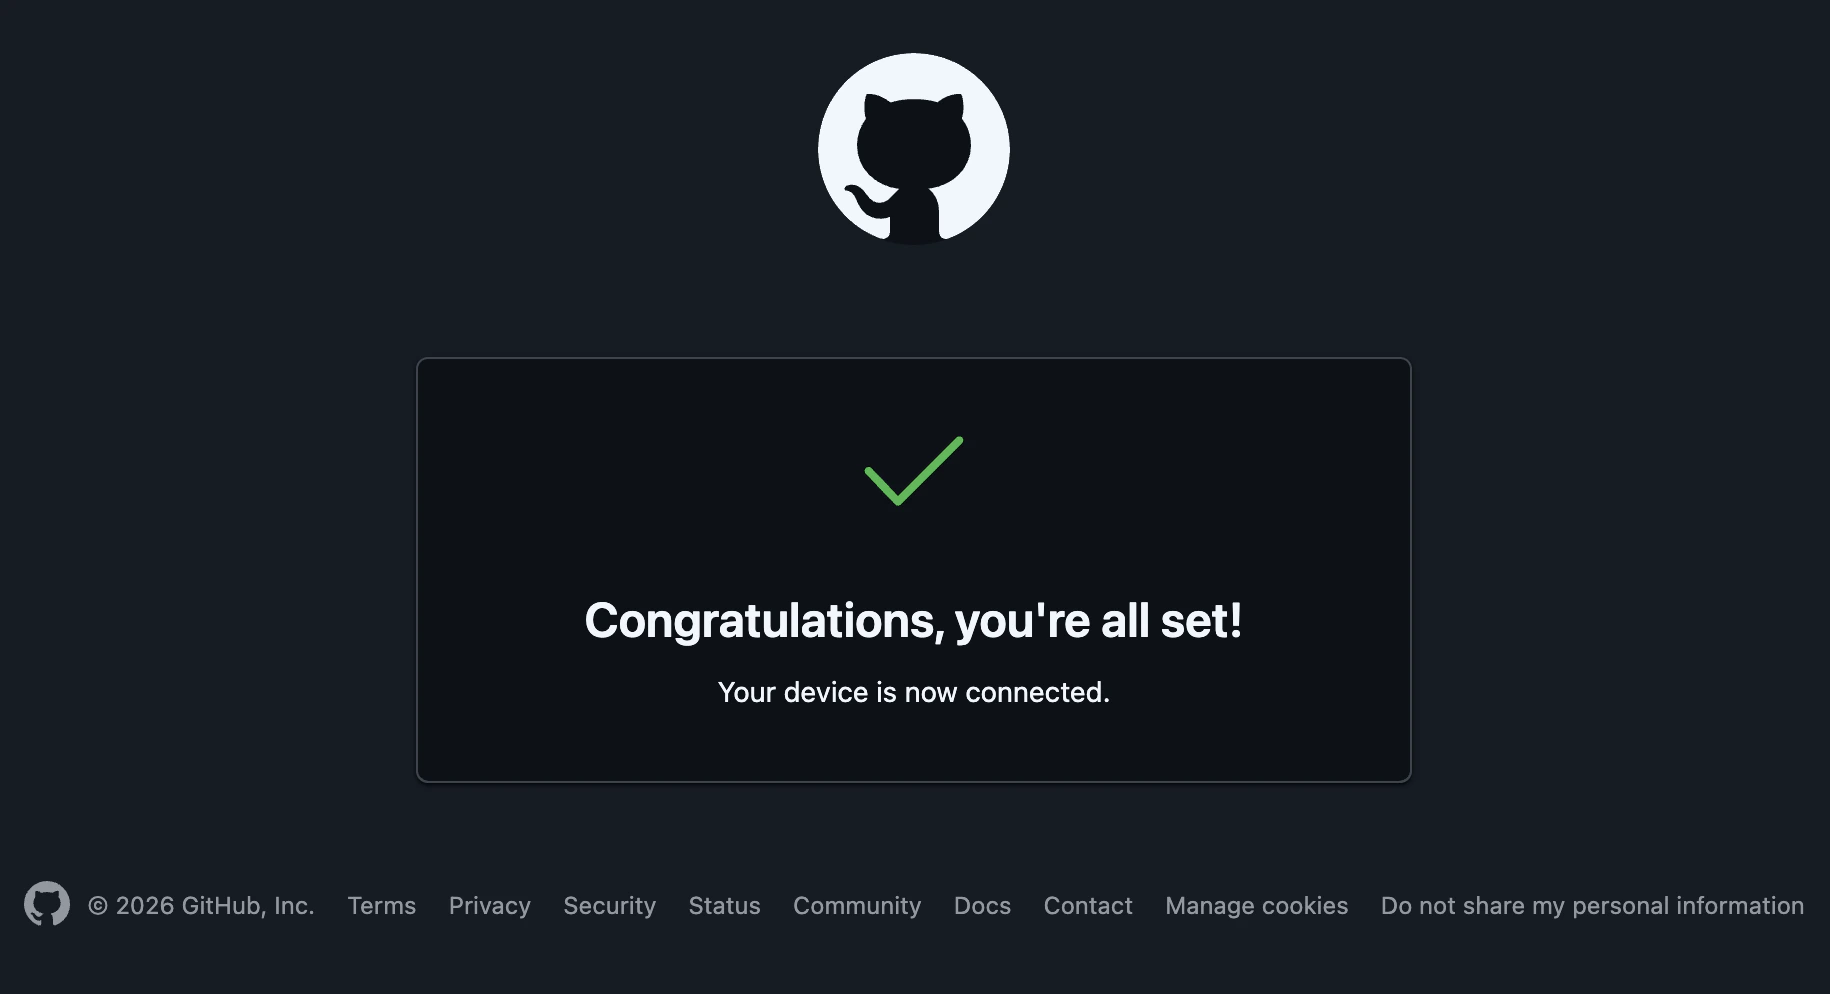 It can take a few seconds for the connection to get updated in Zenflow
 Navigate to **Settings → Integrations** in the Zenflow sidebar.
Locate **GitHub** in the Integrations Catalog.
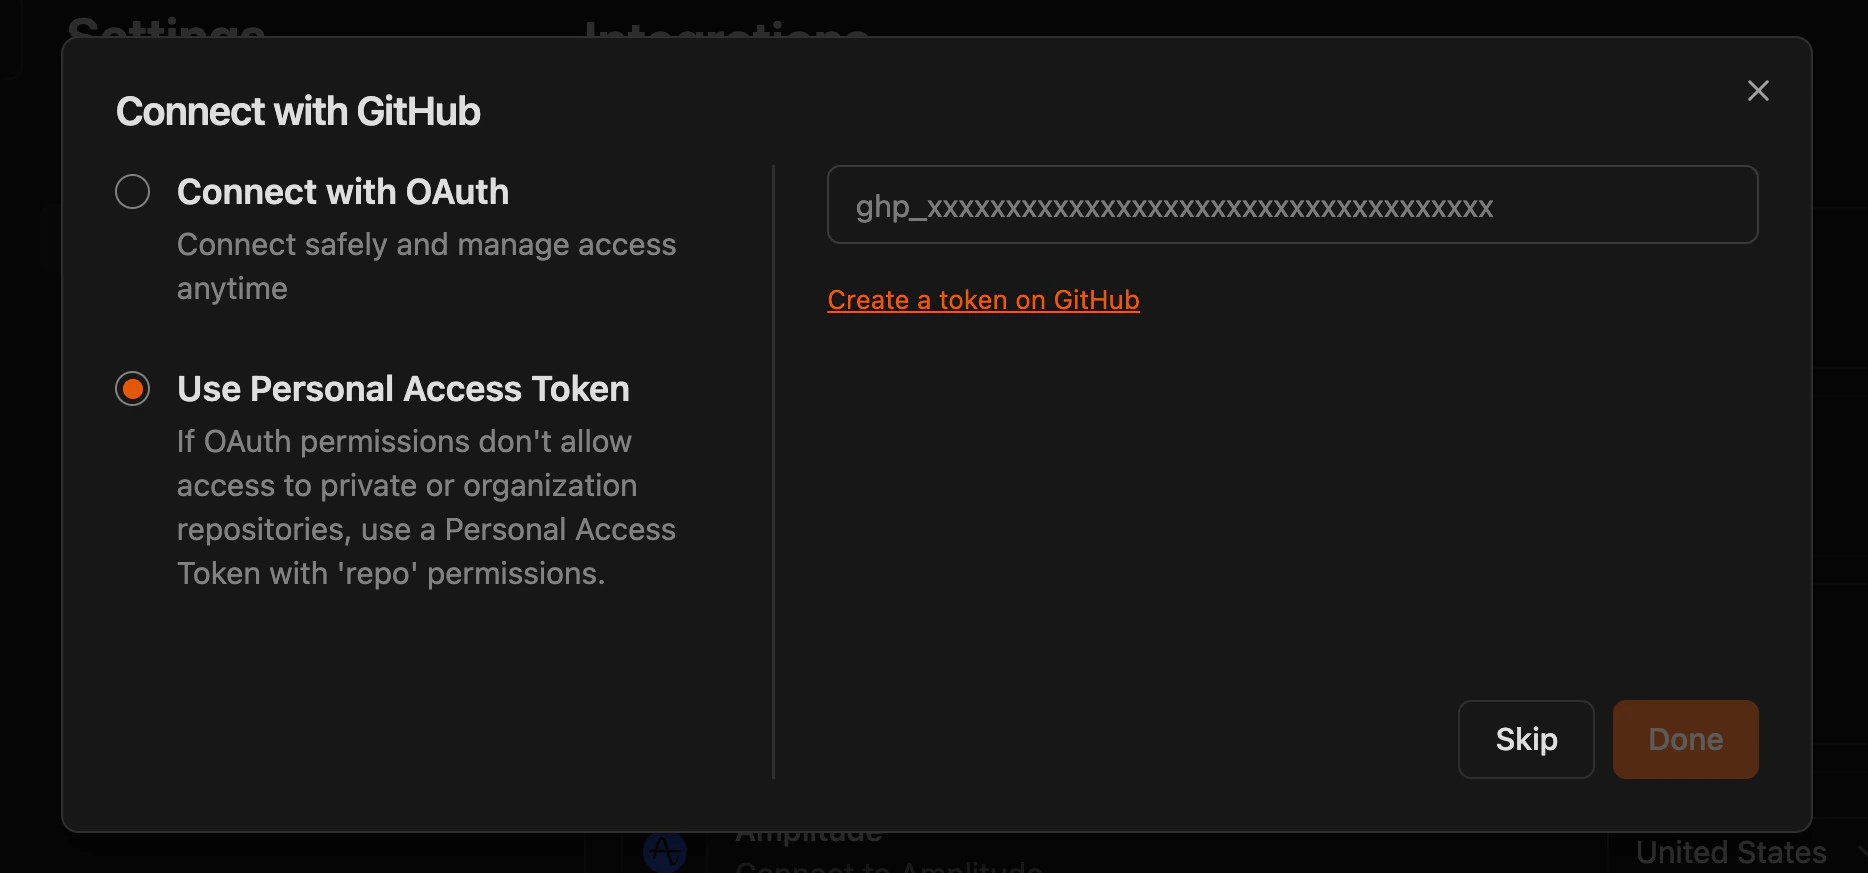
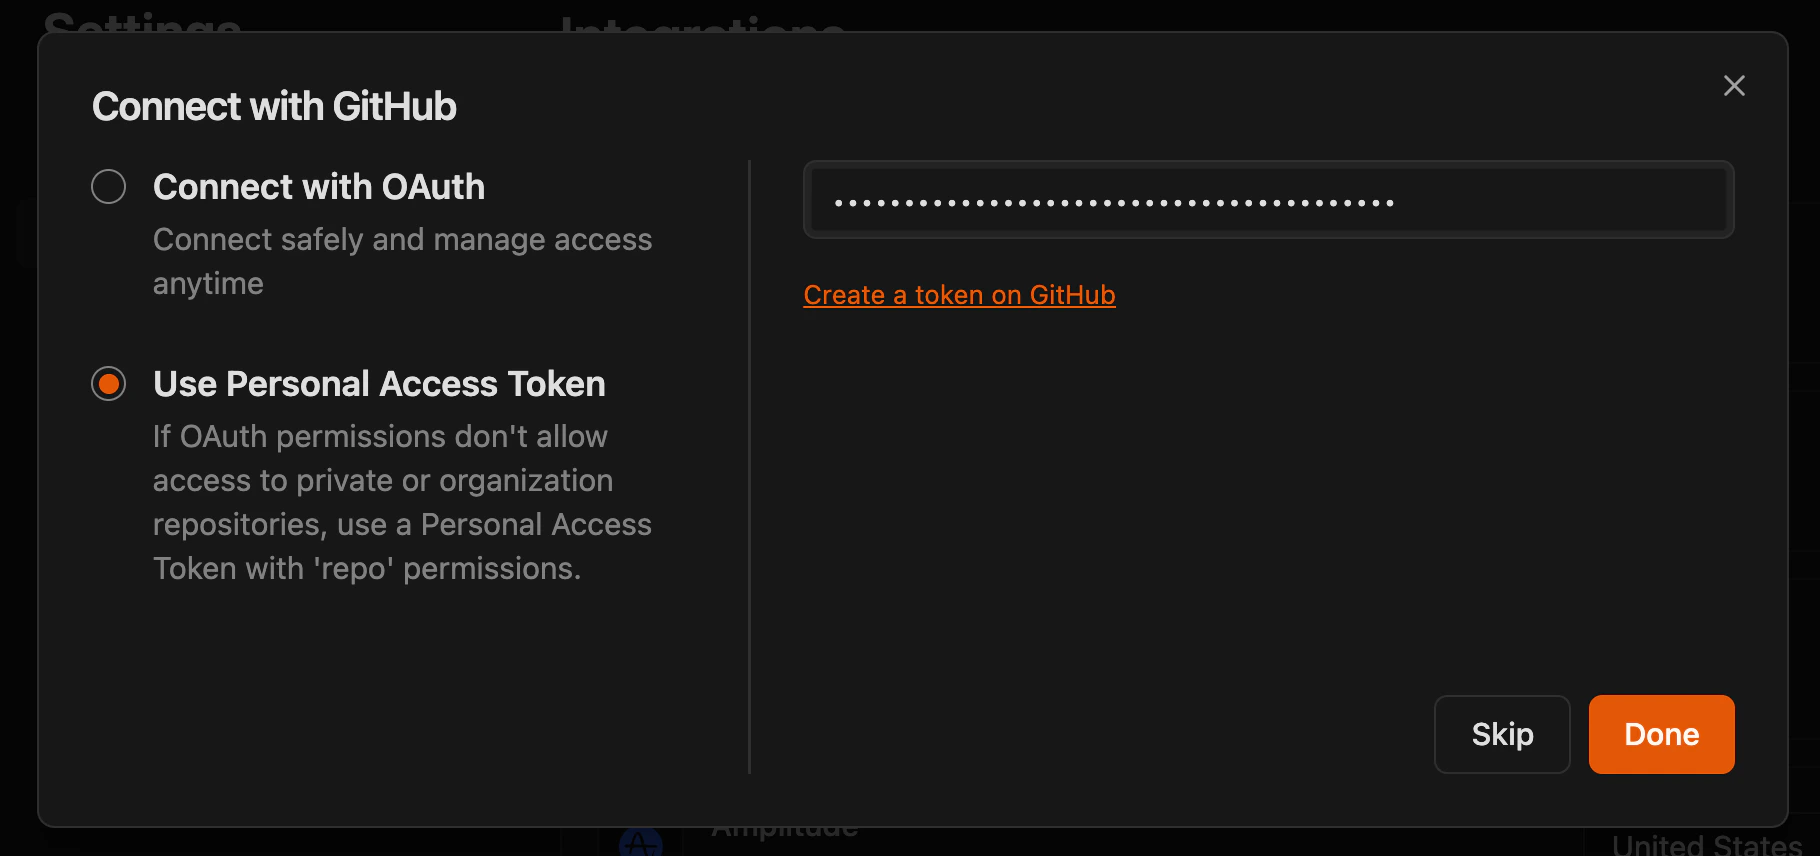
Click the **Connect** or **\[+]** button on the GitHub card, and select **Use Personal Access Token**.
Navigate to **Settings → Integrations** in the Zenflow sidebar.
Locate **GitHub** in the Integrations Catalog.
Click the **Connect** or **\[+]** button on the GitHub card, and select **Use Personal Access Token**.
 Click the link shown in the modal or [click here](https://github.com/settings/tokens/new?description=Zenflow\&scopes=repo,user:email)
After confirming your identity, you should land on **New Personal Access Token (Classic)** page
Click the link shown in the modal or [click here](https://github.com/settings/tokens/new?description=Zenflow\&scopes=repo,user:email)
After confirming your identity, you should land on **New Personal Access Token (Classic)** page
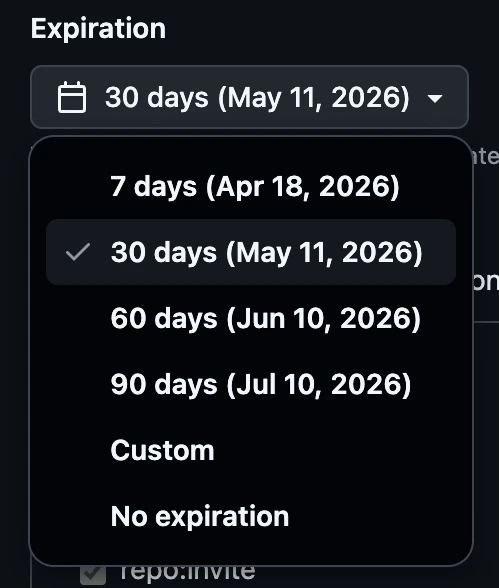
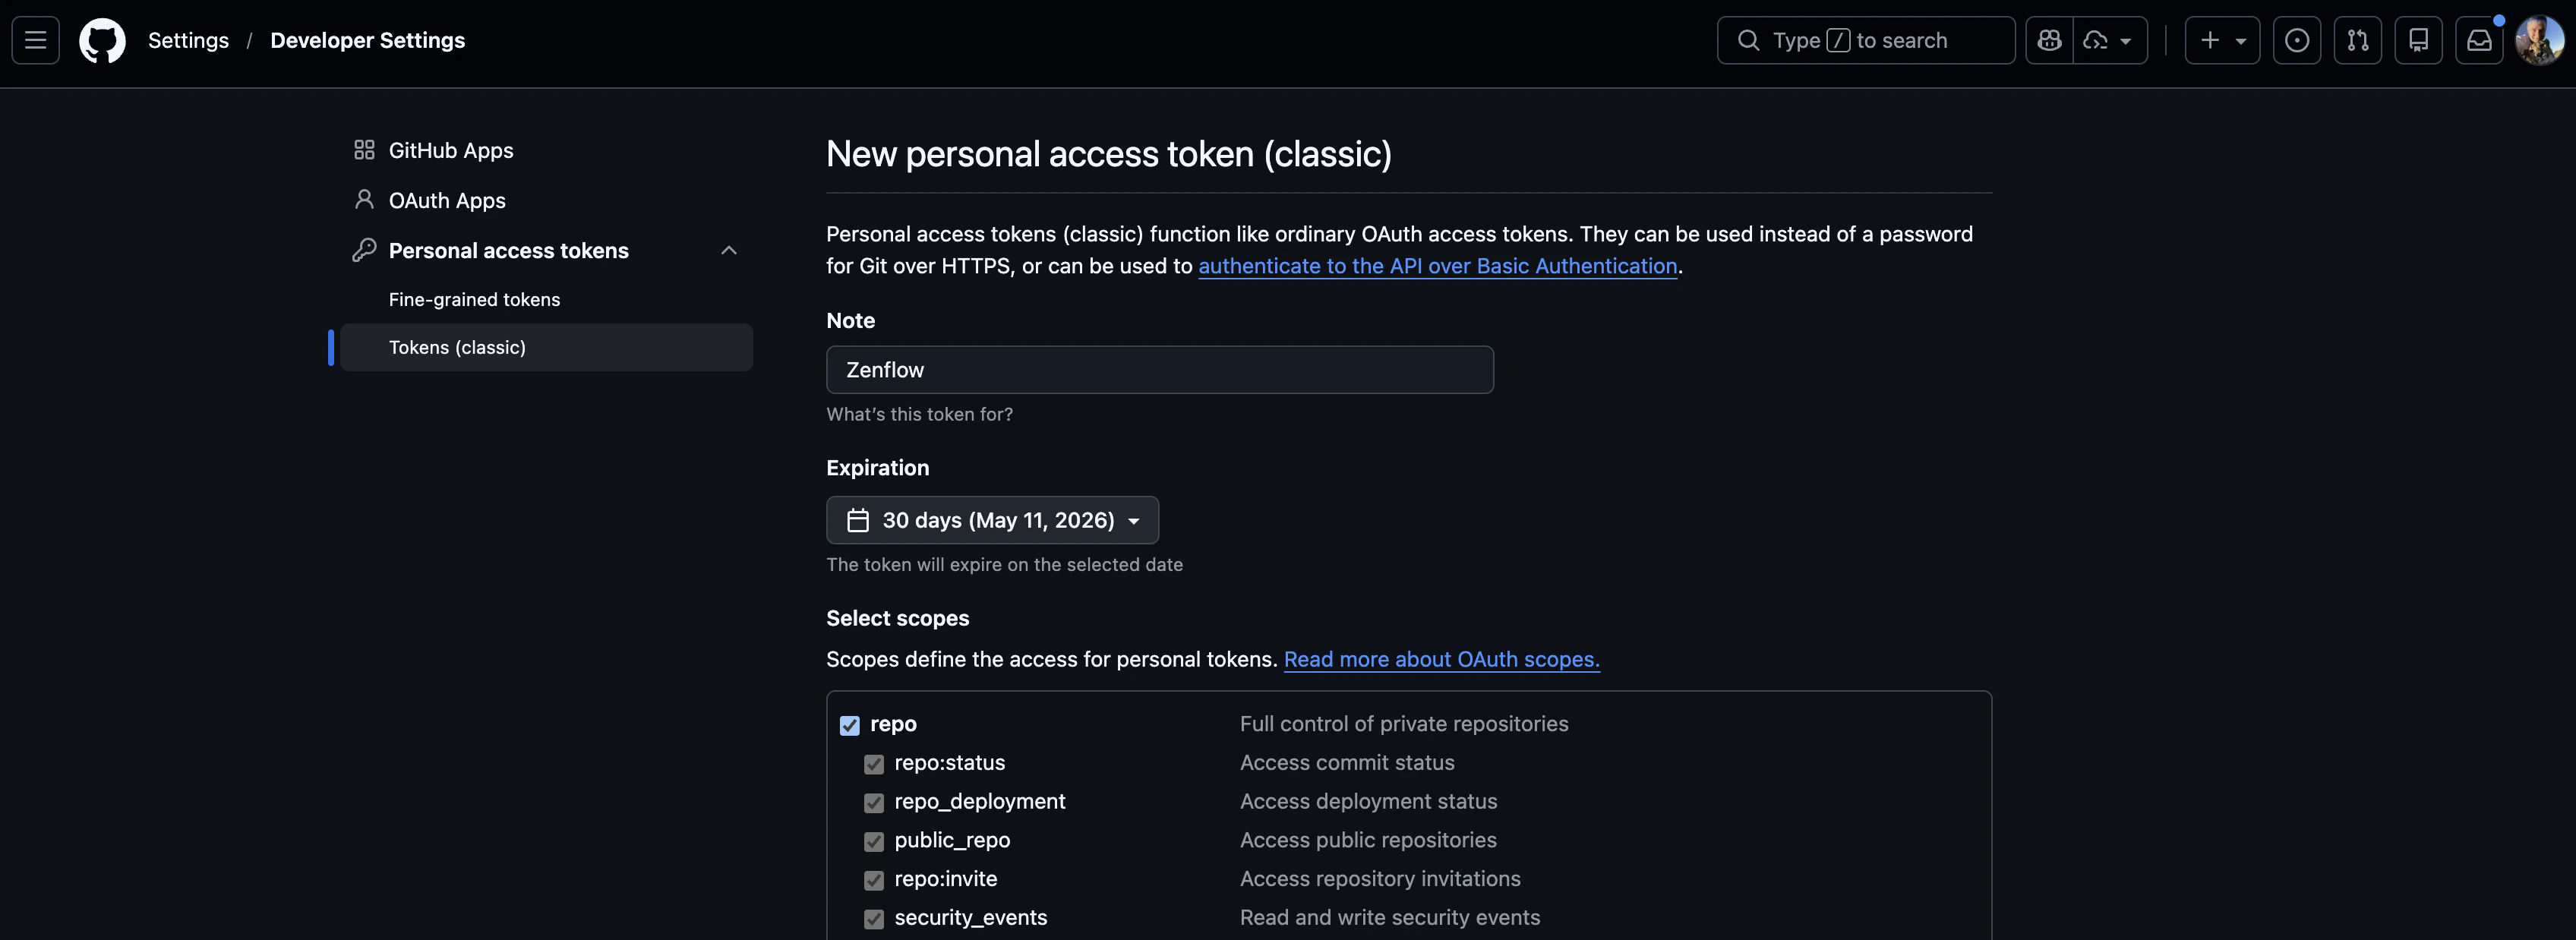 Set token expiration date to your desired expiration date
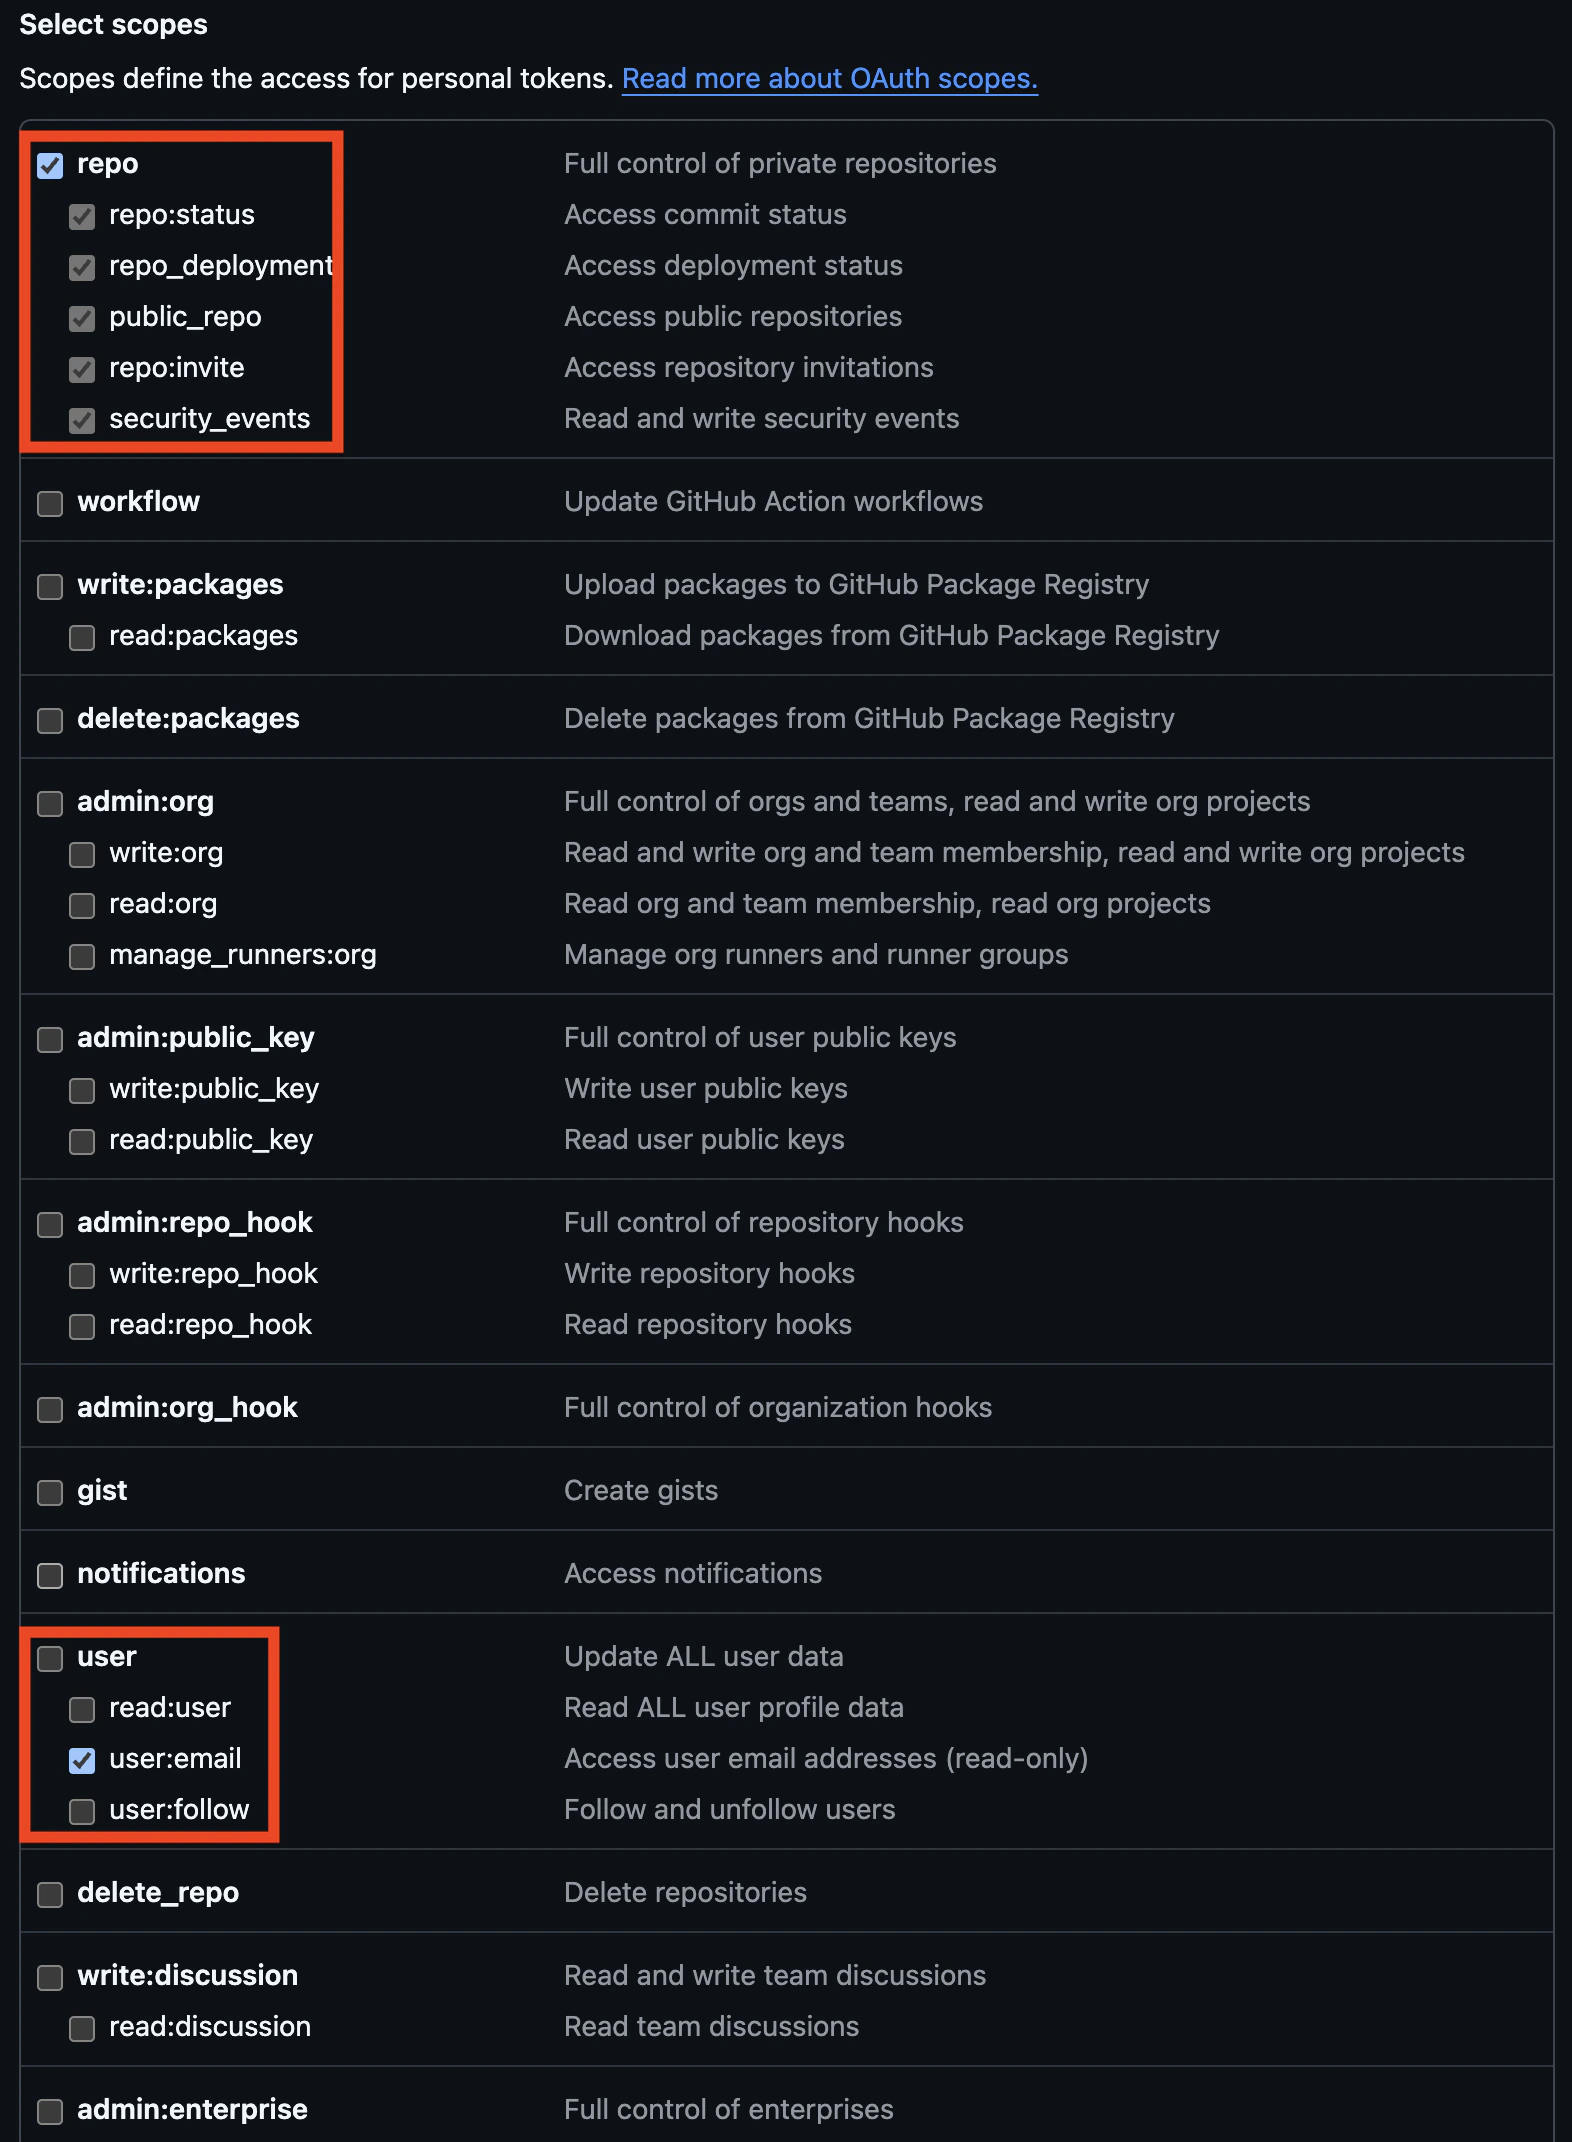
 Make sure the scopes selected as shown on the screenshot - whole `repo` section and `user:email` in `user` section
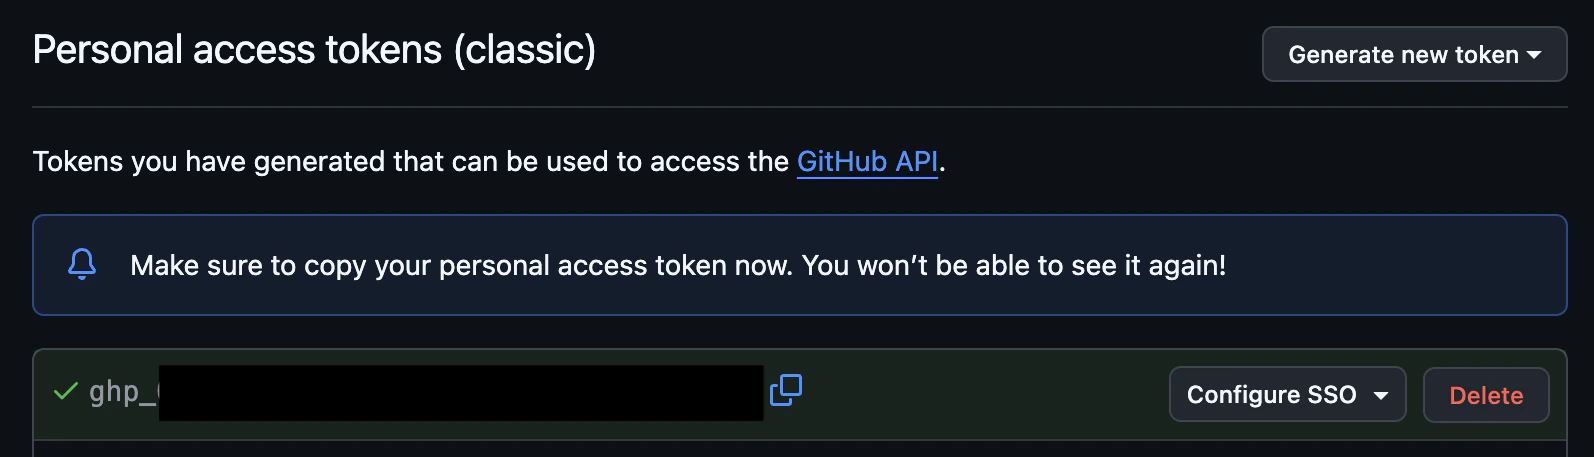
 Click **Generate token** at the bottom of the page. You'll be redirected to the page with all your token and shown the newly generated token
The token is only shown once. Store it securely before leaving the page.
Click **Generate token** at the bottom of the page. You'll be redirected to the page with all your token and shown the newly generated token
The token is only shown once. Store it securely before leaving the page.
 Paste token in Zenflow and click **Done**
 ## Features
### Clone from GitHub
When creating a new project, you can clone directly from GitHub:
1. Click **New Project → Clone from GitHub**
2. Select the repository
3. Choose the local directory
4. Zenflow clones and sets up the project
### Create Pull Requests
When a task is complete:
1. Open the task's context menu (⋯)
2. Click **Create PR**
3. Review the PR title and description (pre-filled from task)
4. Select target branch
5. Create the pull request
Zenflow pushes the task branch and opens the PR on GitHub.
### PR Status Sync
Zenflow syncs PR status back to tasks:
| GitHub Status | Task Status |
| ------------- | ------------------- |
| PR Open | Review |
| PR Merged | Completed |
| PR Closed | Archived (optional) |
### Automated Workflows
Trigger Zenflow tasks from GitHub events:
* **Issue created**: Auto-create a Fix Bug task
* **PR comment**: Re-run agents with new instructions
* **Review requested**: Notify in Zenflow inbox
## Authentication Options
### OAuth (Recommended)
Standard GitHub OAuth flow—sign in with your GitHub account and authorize Zenflow.
### Personal Access Token
For fine-grained control or organizations with OAuth restrictions:
1. Generate a token at **GitHub → Settings → Developer settings → Personal access tokens**
2. Required scopes: `repo`, `workflow`
3. Enter the token in **Project → Settings → GitHub**
### GitHub App (Enterprise)
Organizations can install the Zenflow GitHub App for centralized access control:
* Admin manages permissions
* No individual tokens needed
* Audit logging for compliance
## Repository Settings
Configure per-repository behavior:
| Setting | Description |
| ------------------ | ----------------------------------- |
| **Default branch** | Base for new tasks (usually `main`) |
| **Branch prefix** | Naming pattern for task branches |
| **Auto-push** | Push branches automatically |
| **PR template** | Default description template |
## Troubleshooting
Verify that your GitHub connection has access to the repository. For organization repos, an admin may need to grant access.
Check that:
* The task branch has commits
* You have write access to the repository
* The target branch exists
* There are no GitHub branch protection conflicts
Zenflow webhooks may be blocked by:
* Firewall rules
* GitHub organization settings
* Network connectivity issues
Check **Project → Settings → Integrations** for webhook status.
## Next Steps
Connect additional tools via MCP
Configure automation settings
## Features
### Clone from GitHub
When creating a new project, you can clone directly from GitHub:
1. Click **New Project → Clone from GitHub**
2. Select the repository
3. Choose the local directory
4. Zenflow clones and sets up the project
### Create Pull Requests
When a task is complete:
1. Open the task's context menu (⋯)
2. Click **Create PR**
3. Review the PR title and description (pre-filled from task)
4. Select target branch
5. Create the pull request
Zenflow pushes the task branch and opens the PR on GitHub.
### PR Status Sync
Zenflow syncs PR status back to tasks:
| GitHub Status | Task Status |
| ------------- | ------------------- |
| PR Open | Review |
| PR Merged | Completed |
| PR Closed | Archived (optional) |
### Automated Workflows
Trigger Zenflow tasks from GitHub events:
* **Issue created**: Auto-create a Fix Bug task
* **PR comment**: Re-run agents with new instructions
* **Review requested**: Notify in Zenflow inbox
## Authentication Options
### OAuth (Recommended)
Standard GitHub OAuth flow—sign in with your GitHub account and authorize Zenflow.
### Personal Access Token
For fine-grained control or organizations with OAuth restrictions:
1. Generate a token at **GitHub → Settings → Developer settings → Personal access tokens**
2. Required scopes: `repo`, `workflow`
3. Enter the token in **Project → Settings → GitHub**
### GitHub App (Enterprise)
Organizations can install the Zenflow GitHub App for centralized access control:
* Admin manages permissions
* No individual tokens needed
* Audit logging for compliance
## Repository Settings
Configure per-repository behavior:
| Setting | Description |
| ------------------ | ----------------------------------- |
| **Default branch** | Base for new tasks (usually `main`) |
| **Branch prefix** | Naming pattern for task branches |
| **Auto-push** | Push branches automatically |
| **PR template** | Default description template |
## Troubleshooting
Verify that your GitHub connection has access to the repository. For organization repos, an admin may need to grant access.
Check that:
* The task branch has commits
* You have write access to the repository
* The target branch exists
* There are no GitHub branch protection conflicts
Zenflow webhooks may be blocked by:
* Firewall rules
* GitHub organization settings
* Network connectivity issues
Check **Project → Settings → Integrations** for webhook status.
## Next Steps
Connect additional tools via MCP
Configure automation settings