> ## Documentation Index
> Fetch the complete documentation index at: https://docs.zencoder.ai/llms.txt
> Use this file to discover all available pages before exploring further.
# Connections
> Connect your version control system to enable repository access and autonomous agent runs.
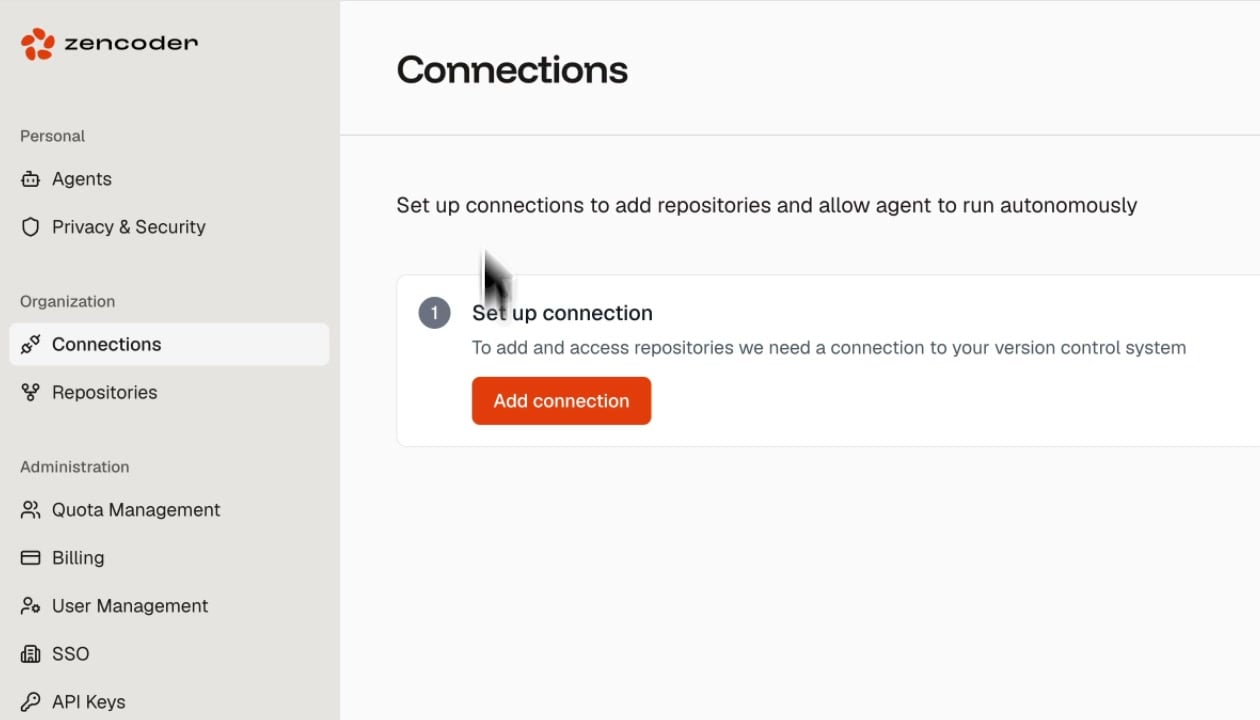
Connections link Zencoder to your version control system. You need at least one connection to add repositories and allow agents to run autonomously.
 ## Setting Up a Connection
On the Connections page, click the **Add connection** button.
Choose your version control system (GitHub, GitLab, or Bitbucket).
Follow the OAuth flow to grant Zencoder access to your repositories. You can scope access to specific organizations or repositories.
Connections are organization-scoped. Once a connection is set up, all team members in your Zencoder organization can access the linked repositories.
## After Connecting
Once connected, head to [Repositories](/admin/repositories) to select which repositories to add for indexing and agent runs.
## Setting Up a Connection
On the Connections page, click the **Add connection** button.
Choose your version control system (GitHub, GitLab, or Bitbucket).
Follow the OAuth flow to grant Zencoder access to your repositories. You can scope access to specific organizations or repositories.
Connections are organization-scoped. Once a connection is set up, all team members in your Zencoder organization can access the linked repositories.
## After Connecting
Once connected, head to [Repositories](/admin/repositories) to select which repositories to add for indexing and agent runs.